

How to Build a Low-Cost PCR Machine for Citizen Science Projects
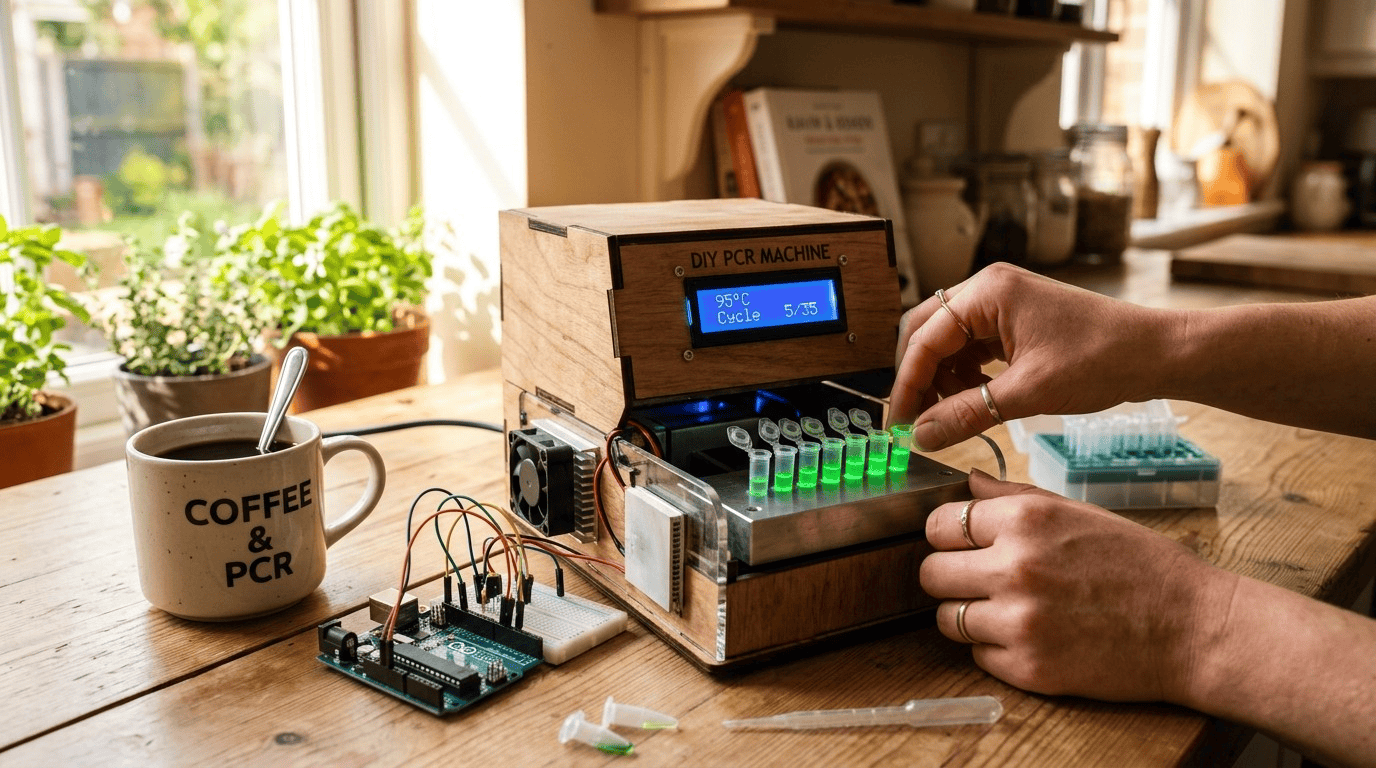
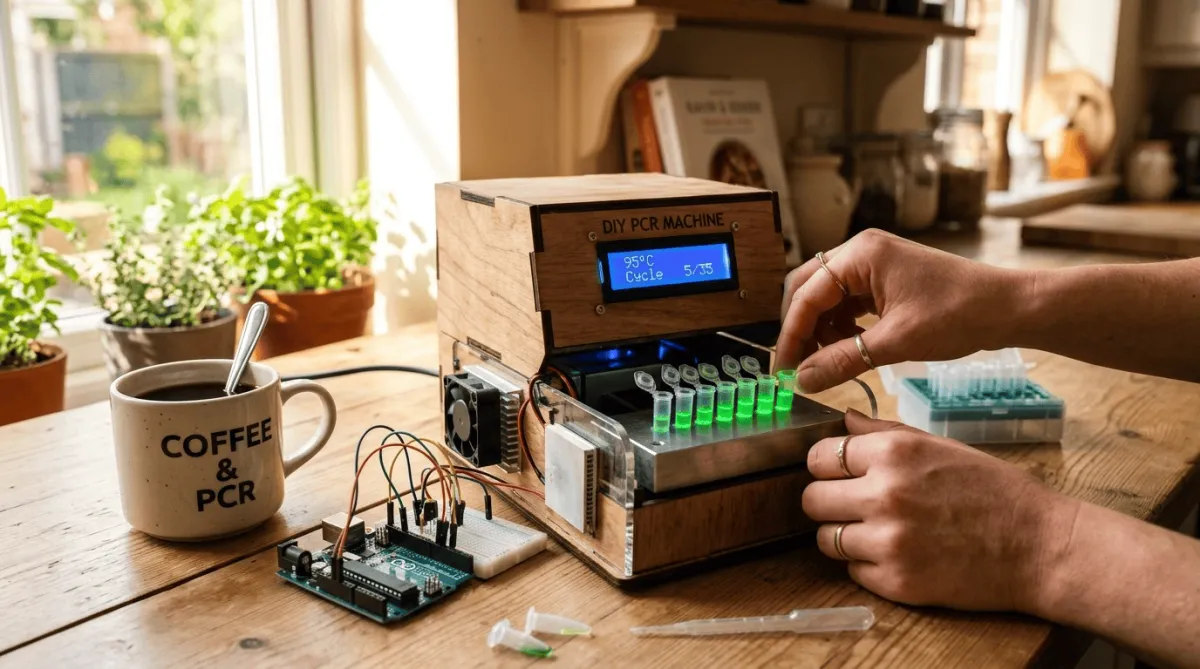
You know that moment when a science idea grabs you and won’t let go? Maybe you want to test pond water for antibiotic-resistance genes, screen plants for a rare mutation, or just understand how DNA amplification actually feels in your own hands.
For years, the machine at the heart of that dream 'the thermal cycler', or 'PCR machine' sat behind a locked lab door with a price tag that could buy a used car. That’s changed.
You can now build a functional, programmable low-cost PCR machine for under $100, often much less, using tools you probably already have and a willingness to learn.
This guide walks you through exactly how to do it, why it matters, and how it opens the door to real citizen science PCR projects that don’t require a PhD.
Why Build a Low-Cost PCR Machine?
When I first stumbled into beginner biohacking, I thought PCR was untouchable, the million-dollar labs, perfectly sterile rooms, blinking boxes that looked like alien coffee makers.
The truth is far friendlier. A low-cost PCR machine does exactly what the fancy ones do: it heats and cools a tiny tube of liquid through precise temperature steps so that DNA polymerase can copy a specific stretch of DNA billions of times.
You get enough DNA to see on a gel, sequence, or use in a project.
Building your own isn’t just about saving money (though that’s wonderful). It’s about understanding the tool from the ground up. When you crimp a wire, troubleshoot a temperature overshoot, or watch the first successful amplification band under UV light, you’ve moved from textbook to reality.
That’s the soul of citizen science PCR: regular people doing meaningful molecular biology outside institutional walls. If you’ve been looking for a way to start biohacking without taking out a loan, this is your ticket.
How PCR Works (A Quick Primer for Beginners)
Before you pick up a soldering iron, let’s demystify the magic in three sentences. Polymerase Chain Reaction (PCR) needs three temperatures:
1. Denaturation (~95°C): The double-stranded DNA melts into two single strands.
2. Annealing (~50 to 65°C): Short DNA primers stick to the target sequence.
3. Extension (~72°C): A heat-loving enzyme (Taq polymerase) builds new complementary strands.
Cycle this 30 to 40 times, and you turn a few invisible molecules into a visible, analyzable amount of DNA.
Your DIY PCR machine just has to shuttle a tube between these temperatures accurately and repeatedly. The humble nature of that task is why a low-cost PCR machine is within reach.
The Core Components of a Low-Cost PCR Machine
You don’t need a cleanroom. You need a handful of off-the-shelf electronics and a bit of patience.
Here’s what you’ll gather for a classic Arduino-powered build; the most popular route in the DIY PCR community.
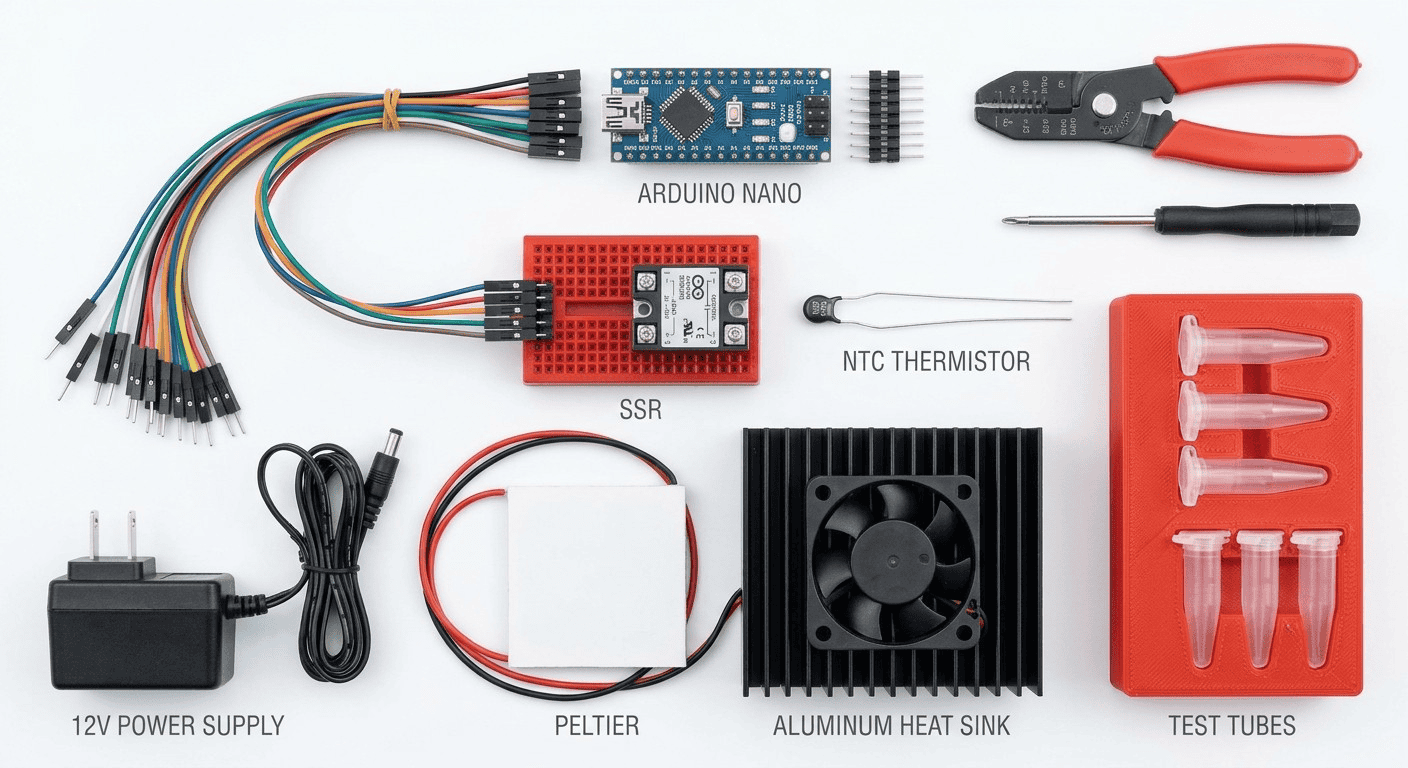
Arduino board (Uno, Nano, or Mega) The brain. About $5–20.
Heating/cooling element: A Peltier module (thermoelectric cooler) does double duty, heating when current flows one way and cooling when reversed. A 12V, 60W unit costs around $5.
H-bridge or motor driver (L298N or similar): Lets you flip the current direction for heating vs. cooling. A $3 module.
Temperature sensor: A thermistor (100k NTC) or a digital DS18B20. Accuracy matters; calibration is part of the fun. Budget $2.
Heat sink and fan: To pull heat away from the Peltier’s hot side during cooling. Salvage one from an old PC.
Sample block: A small aluminum or 3D-printed block drilled to hold 0.2mL PCR tubes. You can cast one from aluminum easily.
Power supply: A 12V, 5–10A DC supply, often a repurposed laptop brick or LED strip supply.
Enclosure: Plywood, acrylic, or a 3D-printed box. Something that won’t catch fire.
Miscellaneous: Jumper wires, thermal paste, a lid heater (optional but recommended to prevent condensation; a simple resistor or second Peltier works).
Total? As low as $50 if you’re scrappy. Even buying everything new rarely cracks $100.
That’s the beauty of a low-cost PCR machine: it democratizes the gear. For more on setting up your space, check out our post on budget-friendly home lab essentials for beginner biohacking.
Assembling Your Low-Cost PCR Machine Step by Step
Now the hands-on part. I’ll assume you’re using an Arduino and the classic Peltier-based thermal cycler design - the most documented and forgiving DIY PCR path.
No prior electronics experience? No problem. You’ll learn as you go.
1. Mount the Peltier and block
Smear thermal paste on both sides of the Peltier module. One side goes against the aluminum sample block (the cold/hot face that cradles your tubes). The other side mates to a large heat sink.
Secure everything firmly so heat transfers well. If you have a lid heater (a small resistor or secondary Peltier), install it above the tube caps, keeping the lid at ~105°C to stop evaporation.
2. Wire the H-bridge and power
The L298N module lets you reverse polarity. Connect its output to the Peltier, input to a 12V supply, and control pins to the Arduino.
This way, your code can say “heat” (forward current) or “cool” (reverse current). Add the fan in parallel with the heat sink just wire it to run whenever the machine is on.
3. Place the temperature sensor
Embed the thermistor or DS18B20 deep into the sample block, as close to where a PCR tube sits as possible. Air gaps equal temperature lies.
Use thermal epoxy if you can. The sensor feeds the Arduino an analog or digital signal, which becomes your feedback loop.
4. Calibrate, calibrate, calibrate
Fill a PCR tube with water, insert the sensor, and run heating tests. Compare readings with a separate, trusted thermometer (even a kitchen probe helps).
Adjust the code’s offset until the block temperature matches what you measure inside the tube. This step makes or breaks your low-cost PCR machine. A 2°C error can mean no amplification. Be patient; it’s meditation.
5. Build the enclosure
Keep wires tidy, components secure. Drill ventilation holes for the heat sink fan. If you’re into beginner biohacking, you’ll love this part, it’s where a pile of parts becomes an instrument.
Some builders 3D-print an elegant case; I used a wooden cigar box for my first one. It worked beautifully.
For visuals, Hackaday hosts several open-source designs that walk through assembly and coding. I’ve linked a brilliant build log from the community in the resources at the end.
Programming the Thermal Cycler: No Computer Science Degree Needed
This is where your DIY PCR project gets its rhythm. The Arduino sketch sets temperature targets and hold times for each step, reads the sensor, and switches the Peltier between heating and cooling.
PID (Proportional-Integral-Derivative) control keeps temperatures rock-steady, but if that sounds intimidating, start with a simple on-off thermostat logic. It works surprisingly well for moderate ramping.
You’ll define cycles like:
95°C for 30 seconds (denaturation)
55°C for 30 seconds (annealing)
72°C for 30 seconds (extension)
Loop that 35 times. Add an initial 95°C for 2 minutes and a final extension of 5 minutes. The code is extensively shared on GitHub by makers who’ve pioneered open-source PCR.
Copy, paste, tweak, and test with water-filled tubes until the temperatures dance exactly how you want. The community around the low-cost PCR machine movement is generous; you’ll never be stuck alone.
If you’re using a DS18B20 sensor, libraries make it a five-line affair. The real magic is watching the serial monitor show the temperature climbing to 95°C, holding steady, then dropping to a precise 55°C.
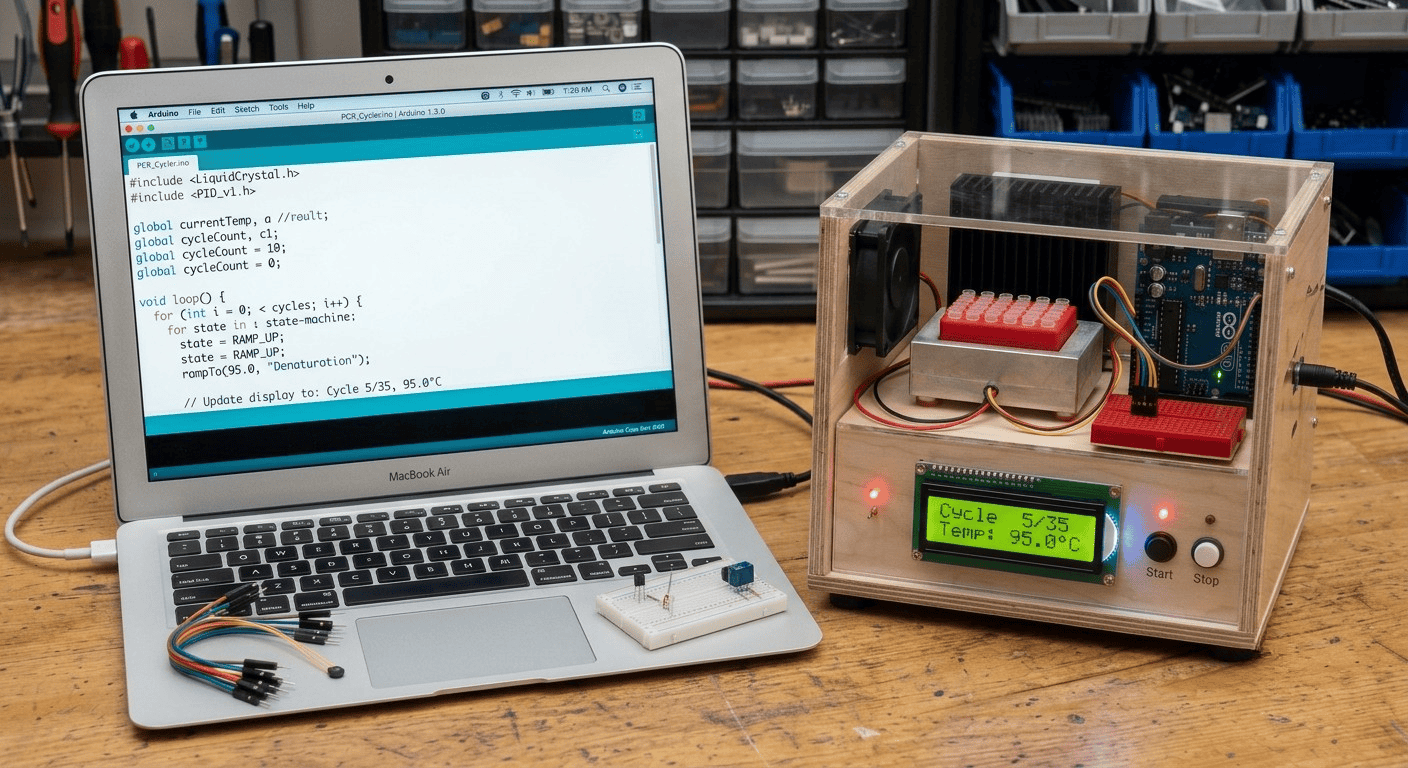
Need a primer on coding for biohacking? Our beginner biohacking starter guide walks you through installing libraries and uploading your first sketch.
Testing Your DIY PCR and Troubleshooting Common Hiccups
The first time you load a real DNA sample and primers, your heart will pound. I get it. Use a known control, a cheap commercial DNA template and primers that always work, like a fragment of the 16S rRNA gene.
Run your machine alongside a friend’s commercial cycler if possible, or at least run multiple replicates.
Common snags and their fixes:
Temperature overshoot → Tune your PID constants or lower the heater’s PWM max. Inertia can push past the setpoint; gently reduce power as you approach the target.
Uneven block temperature → Fill air gaps with thermal compound, press the block tighter, or switch to a more conductive metal like copper.
Condensation on lid → Add a lid heater. A tiny resistor or a second small Peltier held at 105°C prevents water from condensing on the tube cap and changing concentrations.
No amplification → Check primers, template concentration, and sensor calibration. Often, the block reads 95°C but the liquid is cooler. Calibrate against in-tube measurements.
Circuit overheating → Ensure the heat sink is sized right and the fan runs continuously. A Peltier can cook itself in minutes if the hot side isn’t cooled.
When that gel finally glows with a sharp, crisp band, you’ve done it. That’s citizen science PCR, born in your own hands. To learn how to cast a gel and visualize DNA, don’t miss our [DIY gel electrophoresis tutorial], it’s the perfect companion.
From Beginner Biohacking to Real Citizen Science PCR Projects
Once your low-cost PCR machine purrs reliably, a whole landscape opens up. Join global efforts like the “PCR for Plants” project identifying GMOs in food, or the “Water Quality Hack” detecting fecal indicator bacteria using simple DNA tests.
You can trace local bee pathogens, screen soil for nitrogen-fixing bacteria, or even collaborate with your local community lab to monitor environmental DNA (eDNA). The OpenPCR community and the GOSH (Gathering for Open Science Hardware) movement offer protocols, primers, and moral support.
This is where beginner biohacking morphs into confident citizenship. You’re not just playing with gear; you’re generating data that matters.
A low-cost PCR machine removes the gatekeeping. It says, “You belong in science.” If you’re ready to start biohacking with purpose, explore our [list of citizen science PCR projects you can join today].
Safety and ethics matter deeply here; always follow biosafety level 1 precautions, work clean, and never release amplified DNA into the environment without proper inactivation.
External resources I trust and recommend:
NIH National Human Genome Research Institute – PCR Fact Sheet (a clear primer on the science) – [genome.gov/about-genomics/fact-sheets/Polymerase-Chain-Reaction-Fact-Sheet](https://www.genome.gov/about-genomics/fact-sheets/Polymerase-Chain-Reaction-Fact-Sheet)
Hackaday’s deep archive of DIY thermal cyclers: full of build logs, code, and troubleshooting gold
OpenPCR project: the original open-source PCR machine that inspired thousands.
Key Takeaways and Your Next Steps
A functional low-cost PCR machine can be built for $50–$100 using Arduino, a Peltier module, and basic components.
The build teaches you fundamentals of molecular biology, electronics, and coding; a true beginner biohacking education.
Proper calibration and a lid heater are the secret sauces that turn a toy into a reliable DIY PCR workhorse.
Once operational, you can dive into real citizen science PCR projects that contribute to environmental monitoring, food safety, and community health.
The open-source community has your back; you’re standing on the shoulders of hackers who have already solved the hard parts.
You don’t need a lab coat. You don’t need permission. You just need curiosity, a little time, and the willingness to fail forward.
The barrier that kept molecular biology behind closed doors is crumbling, one soldered connection at a time. Your low-cost PCR machine can be next.
Ready to build? Stuck on a step? Want to share your glowing gel photo? We’d love to hear from you. Contact us at [email protected] for inquiries, troubleshooting tips, or just to say hi. Let’s grow this community of everyday scientists together.