

How to Sterilize and Maintain Your Home Lab Equipment Properly
Hey friend, if you’re running a home lab, whether for mycology, plant tissue culture, fermenting fun, or just curious weekend science learning how to sterilize home lab equipment is a non‑negotiable skill.
It’s what stands between a thriving experiment and a contaminated mess that makes you want to toss everything in the trash. But sterilizing isn’t a one‑and‑done chore; it’s part of a bigger picture of home lab maintenance and solid DIY lab safety.
In this guide, I’ll walk you through exactly what you need to do to keep your gear pristine, your cultures happy, and your eyebrows unsinged, all in a way that feels like we’re chatting across the workbench.
Grab a cup of coffee, and let’s dig in.
Why Sterilizing Your Home Lab Equipment Matters
When you first set up a home lab, it’s tempting to think “clean enough” is fine. Spoiler: it’s not.
Every surface, tool, and vessel you use can harbor bacteria, fungal spores, and yeasts that compete with whatever you’re trying to grow.
Sterilizing isn’t just about being fussy, it’s the foundation of reliable results. If you’ve ever lost a batch of grain spawn to a green mould takeover, you already know the heartache.
Properly sterilize home lab equipment and you’ll slash contamination rates, protect your investment in cultures, and build a DIY lab safety routine that becomes second nature.
Beyond that, some home lab projects involve pathogenic organisms or sensitive reagents; a lapse in sterile technique isn’t just messy, it can be genuinely hazardous.
Let’s make sure that doesn’t happen.
The Foundation of Home Lab Maintenance: Clean Before You Sterilize
Sterilizing equipment that still has visible dirt or residue is like taking a shower with your clothes on. You absolutely have to clean first.
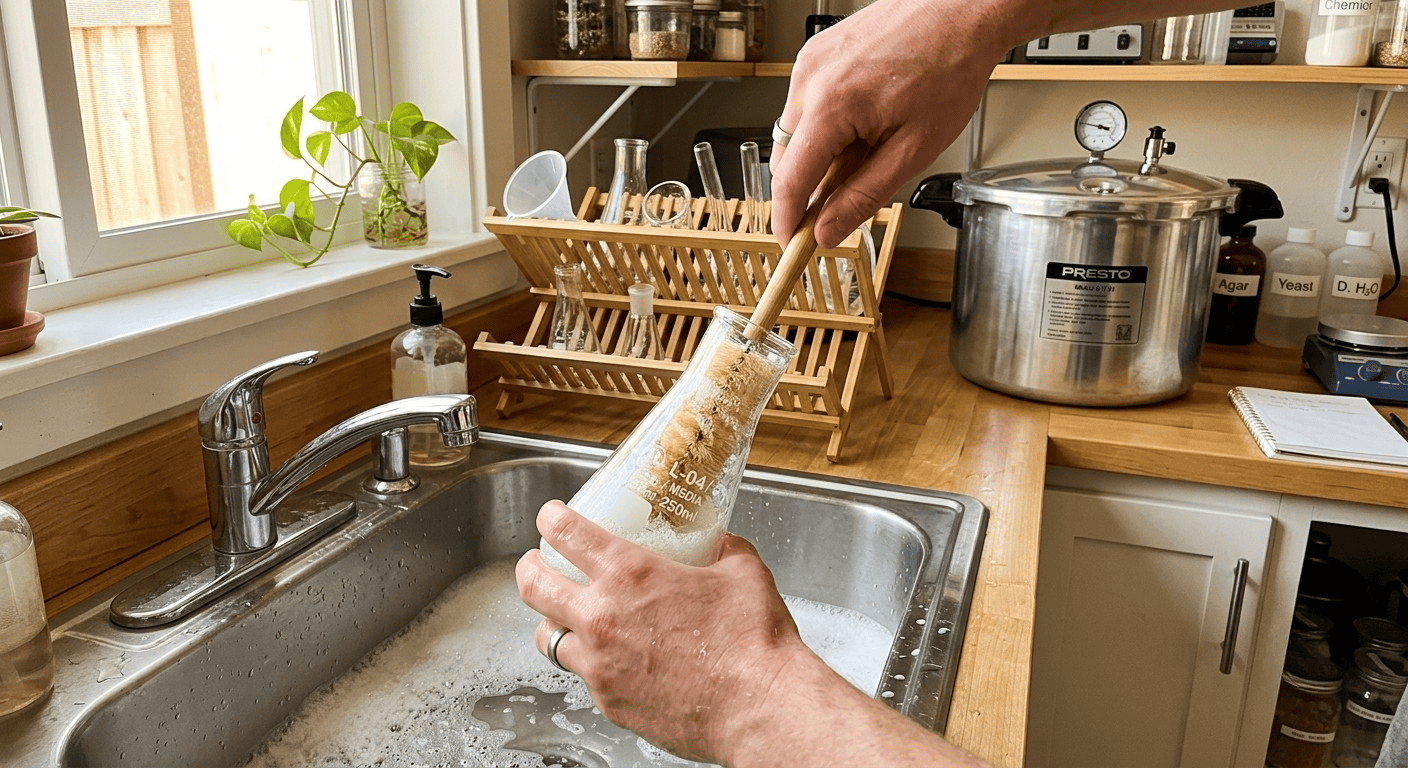
Home lab maintenance starts with manual scrubbing using warm water and a mild detergent, breaking down biofilm and organic gunk. For glassware, I swear by a bottle brush and a small amount of unscented dish soap, rinsed until there’s zero foam.
Pay attention to nooks, inside pipette tips, around the threads of jars, and under lids. Once everything is physically clean, rinse with distilled or deionized water if you can; tap water minerals can leave a film that interferes with some chemical sterilants later.
Dry items fully before loading them into a sterilizer, because excess moisture can mess with heat distribution. This simple cleaning step improves the effectiveness of every sterilization method you’ll use. Don’t skip it.
Choosing the Right Sterilization Method for Your DIY Lab
There isn’t one “best” way to sterilize home lab equipment, it depends on the material, what you’re growing, and your budget. Let’s break down the main approaches so you can mix and match with confidence. The goal is to kill all living microorganisms, including bacterial endospores, which are notoriously tough. Your toolkit likely includes:
Moist heat (autoclaving or pressure cooking)
Dry heat (hot air oven)
Chemical sterilants (bleach, ethanol, hydrogen peroxide)
UV radiation (for surface work)
I’ll dive into each one, but remember that no single method fits every scenario. For instance, you can’t pop plastic Petri dishes into a dry heat oven without a meltdown, and ethanol alone won’t destroy spores. Understanding these nuances is key to home lab maintenance.
Heat Sterilization: The Gold Standard for Home Labs
If you can use heat, do it. Moist heat, essentially pressurized steam, is the most reliable way to sterilize home lab equipment and is the backbone of professional labs worldwide.
The standard autoclave cycle runs at 121°C (250°F) under 15 psi for 15 to 20 minutes, but many home labs get the same effect with a quality pressure cooker. Steam penetrates porous materials, kills spores, and leaves no chemical residue.
You can sterilize glassware, metal tools, certain plastics (polypropylene, like many syringe filters and centrifuge tubes), liquid media, and even bulk substrate for mushroom cultivation.
Just never seal containers tightly; lids should be slightly loose to allow pressure equalization, or you risk implosion or explosion. After the cycle, let pressure drop to zero naturally, never force‑cool the cooker under water, as the rapid change can crack glass.
For items that can handle higher temperatures and must stay bone‑dry, dry heat sterilization works wonders.
A lab oven at 160 to 170°C (320 to 338°F) for two hours will do the job, perfect for metal tools wrapped in aluminum foil, glass pipettes, or empty glassware. Dry heat takes longer and uses higher temps because hot air isn’t as efficient as steam, but it’s excellent for preventing rust.
This is also a great time to link back to our post on Choosing the Right Autoclave for Home Labs if you’re weighing whether to upgrade from a stovetop cooker.
Pressure Cooker and Autoclave Alternatives: Safe Sterilization on a Budget
Many of us start with a $30 stovetop pressure cooker, and honestly, it’s a workhorse.
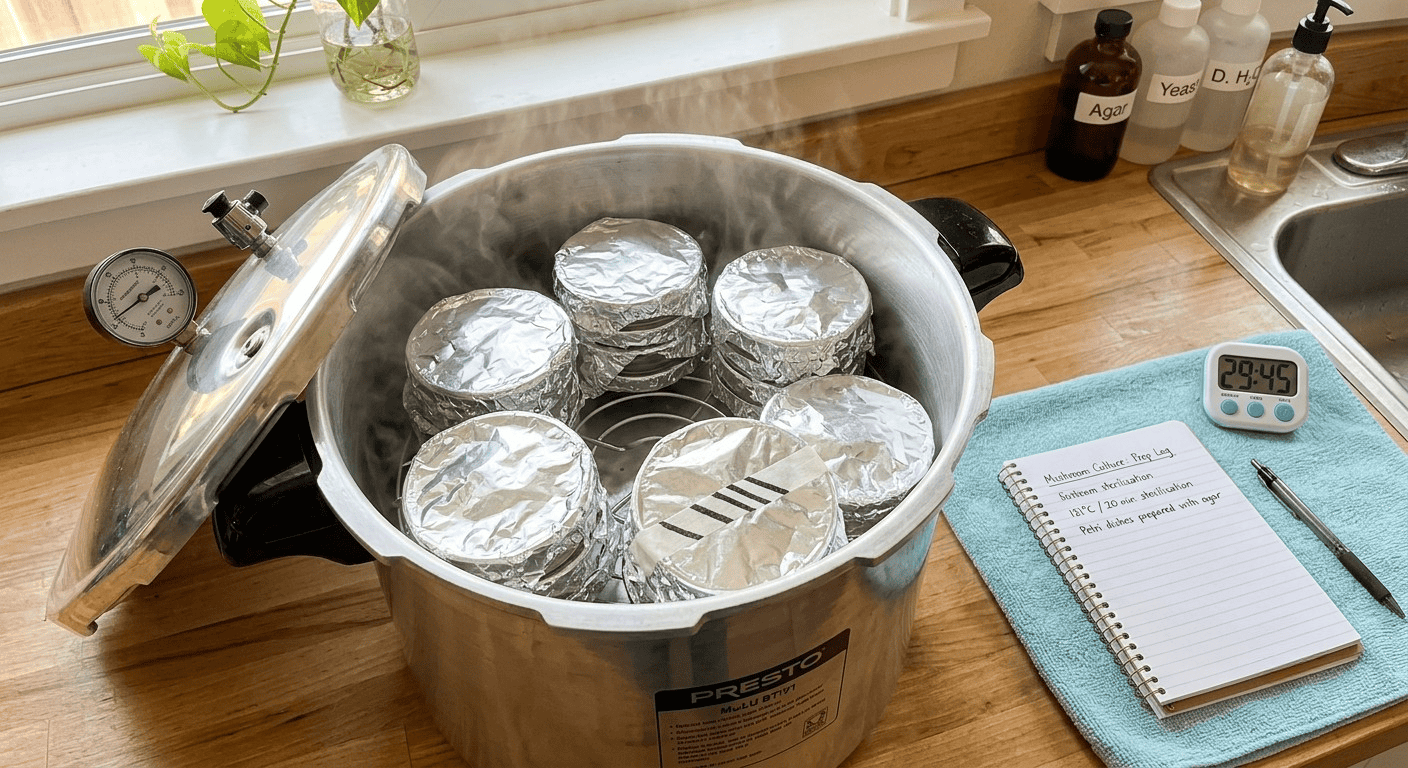
As long as it reaches 15 psi and you verify the temperature with an external gauge or indicator tape, you can effectively sterilize home lab equipment without spending a fortune.
The key is not overloading, steam needs to circulate freely. Place a trivet or rack at the bottom, add enough water, and run full cycles. For bags of substrate, use a spacer so they don’t block the vent.
When I first began, I used an old Presto canner and a strip of autoclave tape on every run, so I’d always know if the right temperature was reached. That peace of mind is priceless.
If you’re curious about commercial electric autoclaves, check out our Guide to Sterilizing Lab Tools Safely at Home for a rundown on features like dry cycles and built‑in timers. But a pressure cooker remains a completely legitimate tool in the DIY lab safety toolkit.
Chemical Sterilization: When Heat Isn’t an Option
Some things can’t take the heat, tentacles of a silicone air hose, delicate electronics, seeds that would cook. That’s when you turn to chemicals. You can sterilize home lab equipment effectively with a few household staples, but the devil is in the contact time and concentration.
Bleach (sodium hypochlorite): A 10% solution (1 part household bleach to 9 parts water) applied for at least 10 to 30 minutes will kill a broad spectrum, including spores. Rinse thoroughly with sterile water afterward to avoid residue that could kill cultures.
70% Isopropyl alcohol: This is a disinfectant, not a true sterilant, it won’t reliably kill bacterial spores. Use it for wiping down work surfaces, gloves, and the outside of containers right before use, but don’t rely on it to sterilize tools.
3% Hydrogen peroxide: Great for soaking small items and as a surface sterilant. Some home labbers use it to wipe down still‑air boxes and countertops.
Peracetic acid or commercial sterilants: Products like Spor‑Klenz or activated glutaraldehyde are highly effective, but they’re pricey and require rigorous safety handling. For most hobbyists, a bleach soak plus good technique covers the bases.
Always use chemical sterilants in a well‑ventilated area and wear gloves and eye protection, classic DIY lab safety. And never mix bleach with ammonia or acids; the fumes can be truly dangerous.
For more on safe chemical handling, the CDC’s Guideline for Disinfection and Sterilization https://www.cdc.gov/infectioncontrol/guidelines/disinfection/index.html is a trustworthy deep‑dive.
Dry Heat and UV Light: Specialized Tools for Sterilizing Home Lab Equipment
Dry heat ovens we’ve touched on, but let’s give a nod to UV‑C light. A UV‑C germicidal lamp can help keep surfaces clean in a laminar flow hood or a still‑air box. It’s not a primary way to sterilize home lab equipment with deep nooks or wrapped tools, because UV only disinfects line‑of‑sight surfaces and doesn’t penetrate.
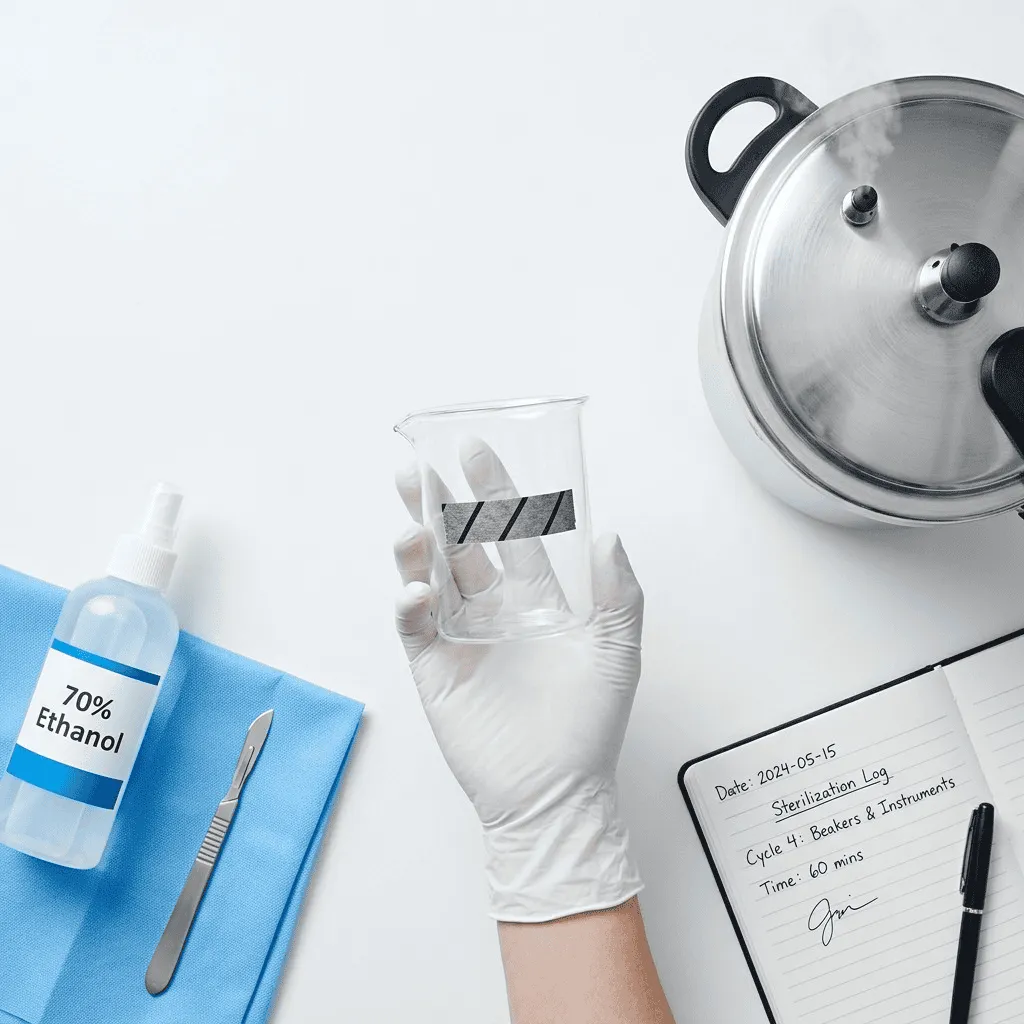
It’s a supplement, not a standalone method. I use a short UV blast in my glove box before working, but I still wipe everything with 70% ethanol and flame my scalpel. If you go the UV route, always protect your eyes and skin, UV‑C burns are no joke.
DIY Lab Safety: Handling and Storing Sterile Gear
Once something is sterile, it stays sterile only as long as you protect it. DIY lab safety extends far beyond the sterilization cycle. Here’s how to keep things contamination‑free:
Let it cool inside the sterilizer: Opening a pressure cooker immediately spews non‑sterile air and condensation. Wait until it’s cool enough to open with bare hands, then transfer items with clean, gloved hands or flamed tongs.
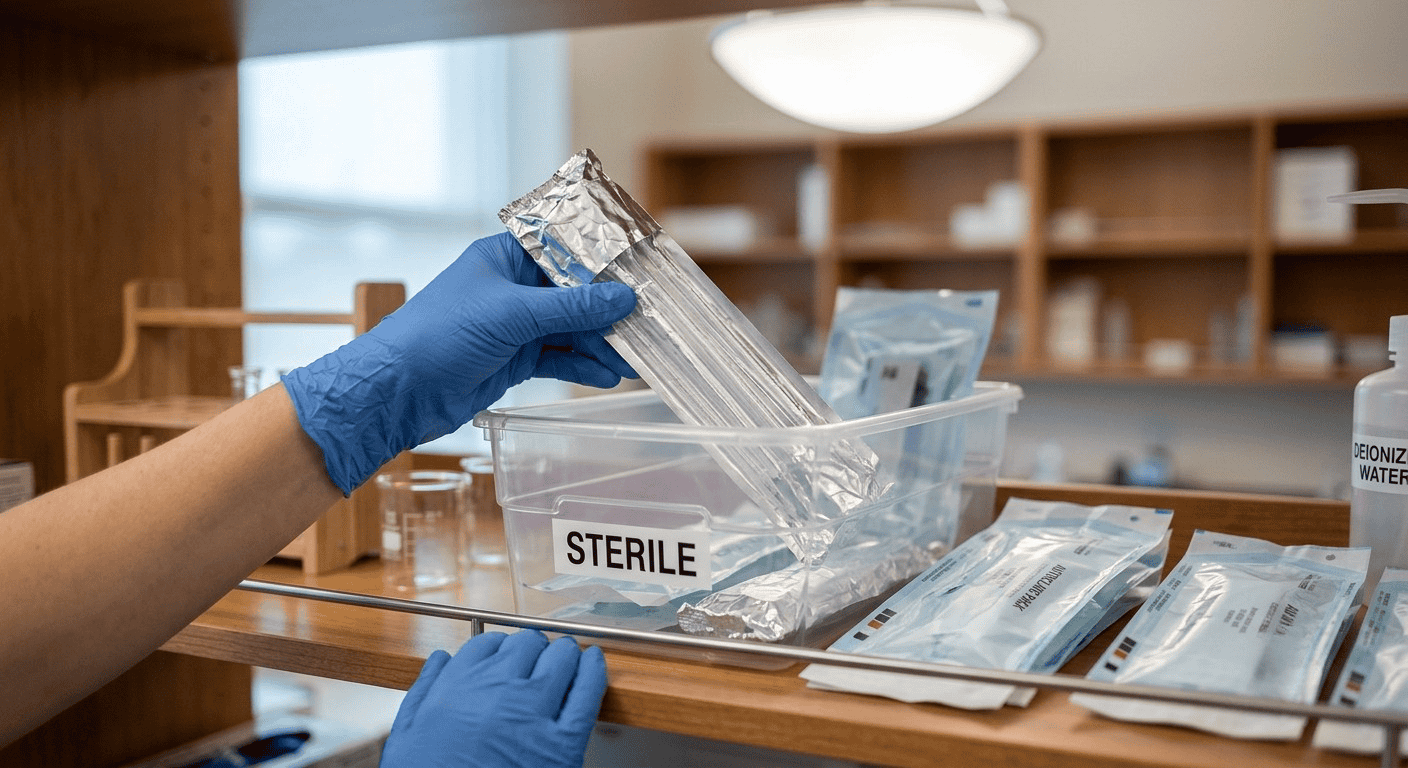
Wrap or cover: Wrap glassware in aluminum foil or place in sterile bags. Keep lids on jars, but remember to loosen them slightly if you’ll be re‑sterilizing.
Seal sterilization pouches: Self‑sealing autoclave bags with indicator strips are a game‑changer for storing pipettes, scalpels, and petri dishes.
Designate a clean zone: A plastic tub with a lid, wiped down with disinfectant, can hold your sterile supplies. Label it clearly and don’t throw random non‑sterile things in there.
A huge part of home lab maintenance is simply respecting the boundary between dirty and clean. Treat your sterile supplies like a surgical field. And if you ever set something down on an un‑sterilized bench, assume it’s contaminated and re‑do the process, sad, but safer than losing a whole project. For a comprehensive checklist, pop over to our DIY Lab Safety Checklist, which walks you through setting up your space step by step.
Routine Home Lab Maintenance: Keep Your Equipment in Top Shape
Sterilizing isn’t a set‑it‑and‑forget‑it deal. Your equipment itself needs regular TLC to keep performing. Home lab maintenance is the quiet hero that prevents broken glass, inaccurate temperatures, and hidden corrosion.
Pressure cookers and autoclaves need gasket checks, rubber seals degrade over time and can cause pressure loss or uneven heating. Replace them annually or if you see cracks. Clean the vent pipe with a pipe cleaner; a blocked vent is a safety hazard. If you’re using a home autoclave with a water reservoir, descale it monthly to avoid mineral buildup that can damage heating elements.
Glassware gets micro‑scratches that harbour contaminants. Inspect flasks and beakers before each use. I toss anything with a visible chip, because that chip is a perfect hideout for spores. For cleaning weird residues, a soak in a mild acid (like vinegar) followed by scrubbing works well. See our guide on How to Clean Microscope Slides and Glassware for more detail.
Metal tools - scalpels, forceps, inoculation loops, should be dried immediately after sterilizing to avoid rust. A light coat of food‑grade mineral oil on hinge points keeps them smooth. Sharp tools stay sharp with occasional honing; dull blades tear instead of cut, increasing contamination risks.
Workspaces need love too. Wipe your bench with a disinfectant after every session, and deep‑clean monthly. I do a “lab reset” where I empty my still‑air box, wash all surfaces, and leave UV on overnight. It’s oddly satisfying and a pillar of home lab maintenance. If you’ve ever wondered how to streamline your space, our post on Home Lab Organization Tips has ideas that reduce cross‑contamination paths.
Troubleshooting Common Sterilization and Maintenance Issues
Even with a solid routine, gremlins sneak in. Let’s troubleshoot a few problems you might face as you sterilize home lab equipment.
Problem: Autoclave tape didn’t change color.
Check that you ran the full cycle at the correct temperature and that the tape hasn’t expired (yes, it expires). If your pressure cooker didn’t reach 15 psi, the gasket might be leaking, or you had too little water, or you didn’t purge air at the start. Modern electric autoclaves sometimes need a warm‑up load; run an empty cycle first.
Problem: Persistent contamination despite sterilizing.
First, audit your technique. Are you opening plates outside a sterile hood or still‑air box? Is your work area drafty? Air currents carry spores. Second, check your raw materials, grain, agar powder, or water might need a longer cycle. Finally, confirm your sterilizer actually reaches temperature. A bio‑indicator strip containing Geobacillus stearothermophilus spores can test the cycle’s true effectiveness. It’s a small expense that reveals big truths. For more on bio‑indicators, OSHA’s Autoclave Safety and Use (https://www.osha.gov/autoclaves-safety) document is a great external resource.
Problem: Glassware comes out with a film.
This is often from hard water deposits, which can bind to glass and create a place for microbes. Switch to distilled water in your sterilizer reservoir, or add a dash of vinegar to the cleaning rinse.
Problem: Plastic items warped.
Polypropylene can handle steam, but thin‑walled plastic will deform if overheated or stacked too tightly. Let the cycle fully depressurize and cool slowly. If you’re using dry heat, keep plastics away, they’ll melt.
Remember, every glitch is a learning opportunity. Write down what went wrong and adjust; that’s how you build a bulletproof DIY lab safety practice.
Key Takeaways: Sterilize Home Lab Equipment Like a Pro
Let’s distill everything down into a cheat sheet you can tape to the wall:
Clean first, always. Sterilization is ineffective on dirty surfaces.
Choose heat when you can. Moist heat (pressure cooker/autoclave at 121°C, 15 psi) is the most reliable method.
Know your materials. Glass and metal love heat; plastics and electronics need chemicals.
Verify with indicators. Autoclave tape, biological spore tests, or chemical integrators confirm your sterilize home lab equipment process worked.
Store sterile items protected. Wrap them, bag them, and keep them in a clean zone away from lab traffic.
Maintain your gear. Gaskets, vents, and sharp edges need regular attention as part of ongoing home lab maintenance.
Respect chemical sterilants. Bleach is effective but corrosive; alcohol sanitizes but doesn’t sterilize; use each correctly.
Keep safety first. Ventilation, gloves, and eye protection aren’t optional when mixing chemicals or operating pressurized vessels.
Troubleshoot systematically. Contamination? Test your process step by step. Equipment failure? Check seals and water quality.
Document what works. A lab notebook with sterilization logs and observations is a secret weapon for consistent results.
Need More Personalized Advice? Get in Touch
I hope this guide gives you the confidence to sterilize home lab equipment with ease and to build a home lab maintenance routine that keeps your projects thriving.
Every setup is a little different, and sometimes you just need a second pair of eyes on your process.
Whether you’re battling a stubborn contamination gremlin or deciding which sterilizer to buy, I’d love to hear from you.
Let’s keep the conversation going and help you grow the cleanest, happiest home lab on the block.
Contact us at [email protected] for inquiries, troubleshooting, or just to share what you’re working on. Your next breakthrough is waiting, and it starts with equipment you can trust.