

Start Your Legal and Safe Home Bio Lab
DIY Science, Home Biology, Safety & Legal Guides
How to Start a Home Bio Lab in the US (Legally and Safely)
Curious about building your own Home Bio Lab, but worried about laws, safety, and where to begin? You’re not alone. In this guide, we’ll walk through how to start a home bio lab in the US step by step, focusing on legal, safe, and beginner‑friendly practices so you can explore biology with confidence.
Why Start a Home Bio Lab in the US?
Setting up a legal home biology lab in America is a fantastic way to make science hands‑on. Whether you’re a student, hobbyist, parent, or lifelong learner, a small Home Bio Lab lets you:
Practice real lab techniques like microscopy, staining, and culturing safe microbes.
Support school or college courses with extra experiments at home.
Explore DIY biology and citizen science projects on your own schedule.
The key is to treat your space like a real lab: follow safety rules, respect legal boundaries, and start with simple, low‑risk projects. When you do that, a home lab can be both incredibly fun and completely responsible.
Step 1: Understand the Legal Basics in the US
The phrase “start home bio lab US” can sound intimidating because people worry about breaking laws. The good news is that basic biology experiments are generally legal in the United States, as long as you avoid restricted materials and follow local rules. This is not legal advice, but here are practical guidelines to keep your Home Bio Lab on the right side of the law:
Stick to safe organisms. Work only with non‑pathogenic microbes, like baker’s yeast or educational strains of E. coli sold for teaching. Avoid anything that can cause disease in humans, animals, or plants.
Avoid clinical samples. Do not culture your own blood, saliva, or bodily fluids. These can carry pathogens and may trigger stricter regulations.
Be careful with genetic engineering. Many simple DNA kits are designed to be safe and educational. However, engineering harmful traits or working with regulated agents is not permitted in a casual home setting.
Check state and local rules. Some states or cities may have extra restrictions on certain chemicals, biological agents, or waste disposal. A quick search on your state’s health department website can give you clarity.
💡 Pro Tip: When in doubt, use educational suppliers that clearly label products as classroom‑safe. They design kits for a legal home biology lab in America and usually avoid regulated materials by default.
Step 2: Choose the Right Space for Your Home Bio Lab
Next, pick a dedicated area for your Home Bio Lab. This doesn’t have to be a full room; a sturdy desk, spare table, or corner of a garage can work well. Aim for a space that is:
Clean and uncluttered: Clear off food, drinks, and unrelated items. You want to avoid cross‑contamination with everyday life.
Well‑lit and ventilated: Good lighting helps you see what you’re doing. Ventilation is important if you’re using alcohol, stains, or mild disinfectants.
Out of reach of kids and pets: If children are involved, supervise closely and lock away chemicals and sharp tools when not in use.
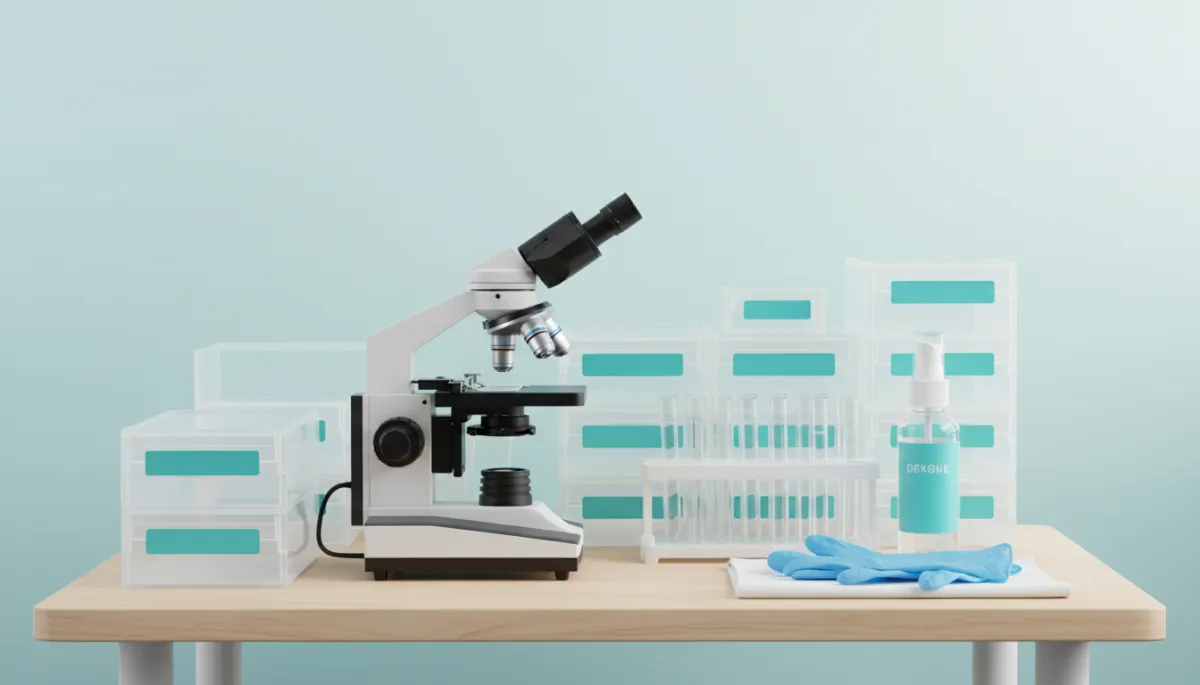
A clean, dedicated workspace is the foundation of any safe home biology setup.
Step 3: Stock Up on Essential, Beginner‑Friendly Equipment
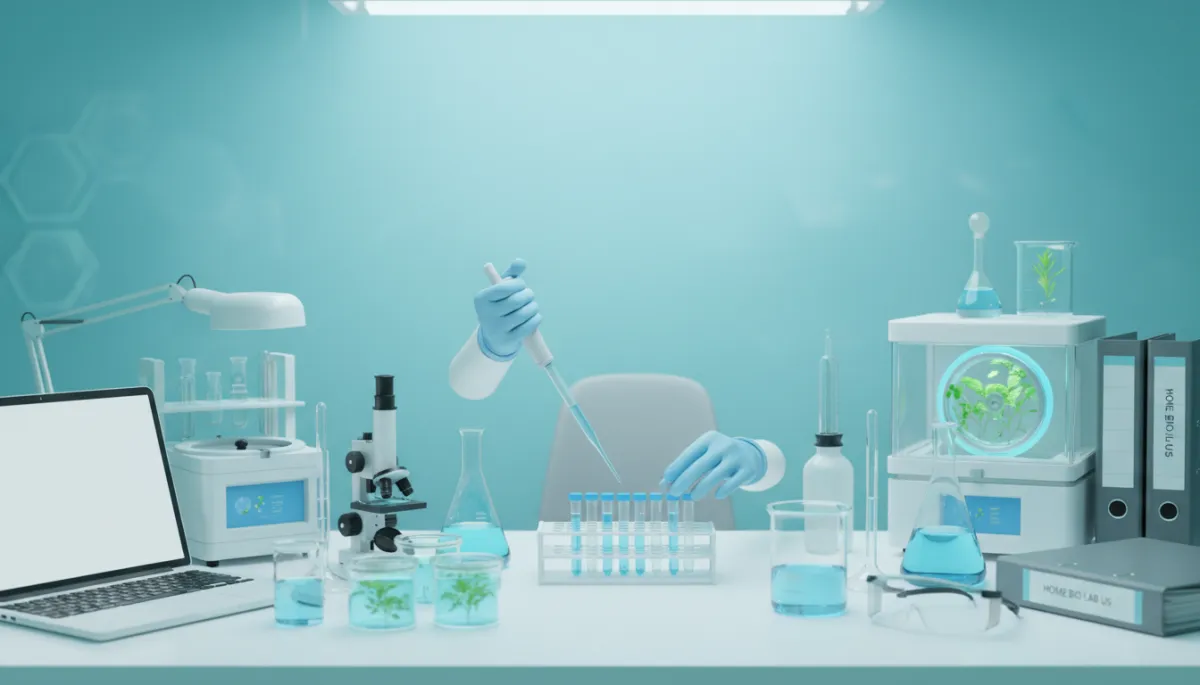
You don’t need a hospital‑grade lab to get started. Focus on simple tools that support a wide range of experiments. For a starter legal home biology lab in America, consider:
Microscope: A basic compound microscope (400x–1000x) is perfect for viewing cells, bacteria, and protists. Many affordable student models are available.
Glassware and plasticware: Test tubes, Petri dishes, beakers, graduated cylinders, and disposable plastic pipettes cover most beginner needs.
Heat source: A small electric hot plate or water bath for gently heating solutions and preparing agar. Avoid open flames unless you’re experienced and have good ventilation.
Basic reagents: Household‑level chemicals like isopropyl alcohol, hydrogen peroxide, food coloring, and simple stains from educational kits are a great starting point.
💡 Budget Tip: Many “biology starter kits” bundle a microscope, slides, dyes, and instructions. They’re an easy way to start a home bio lab US beginners will actually enjoy using right away.
Step 4: Put Safety First – Every Single Time
Safety is what separates a responsible Home Bio Lab from a messy kitchen experiment. Fortunately, most safety practices are simple habits you can build from day one:
Wear protective gear: At minimum, use safety goggles and nitrile or latex gloves. A lab coat or old button‑up shirt protects your clothes and skin.
No food or drink in the lab area: This avoids accidental ingestion of chemicals or microbes and keeps your experiments cleaner.
Label everything clearly: Use waterproof labels for all containers, including water bottles, media, and waste. Note the contents and date.
Disinfect your workspace: Before and after experiments, wipe surfaces with a disinfectant (like diluted bleach or 70% alcohol) and wash your hands thoroughly.
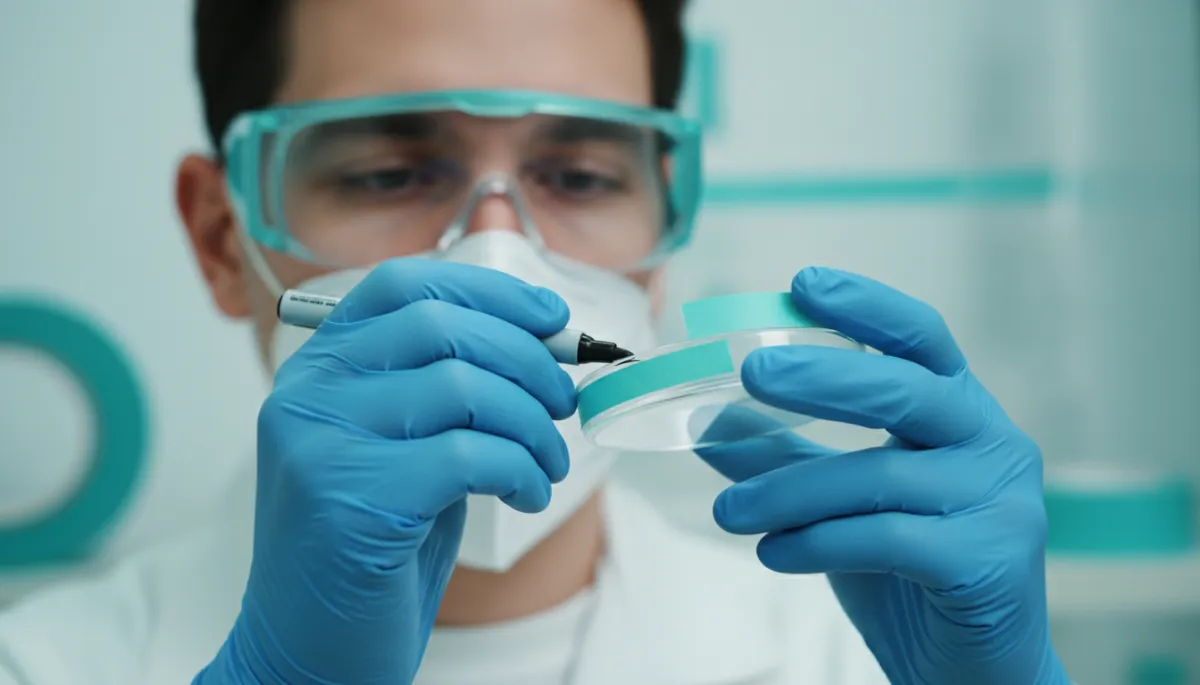
Simple habits like labeling and protective gear dramatically reduce avoidable risks at home.
Step 5: Learn Proper Disposal and Housekeeping
A truly legal home biology lab in America doesn’t just focus on what you bring in; it also pays attention to what you throw out. Even if you only work with safe organisms, you should treat biological waste with respect. Some friendly, practical rules:
Decontaminate before disposal: Soak used cultures in a freshly made bleach solution (about 10%) for at least 30 minutes before discarding them in the trash.
Separate sharps: Place broken glass, needles, or razor blades (if you use them) in a rigid, clearly labeled container before throwing them away, following your local guidelines.
Chemicals go by the label: Follow the disposal instructions on chemical bottles, and never pour unknown mixtures down the drain.
💡 Neighbor‑Friendly Tip: Keep your lab area tidy and odor‑free. If your neighbors or landlord ever ask, you’ll be able to confidently explain that your setup is a safe, educational Home Bio Lab, not something risky.
Step 6: Start with Simple, Safe Experiments
Once your space is set up, it’s time for the fun part: experiments. To keep your legal home biology lab America‑friendly, start with projects that are low‑risk but high in learning value, such as:
Observing onion or cheek cells under the microscope using simple stains.
Growing baker’s yeast on sugar solutions to see how temperature or food source affects growth.
Testing the effect of different household cleaners on safe bacteria strains from an educational kit.
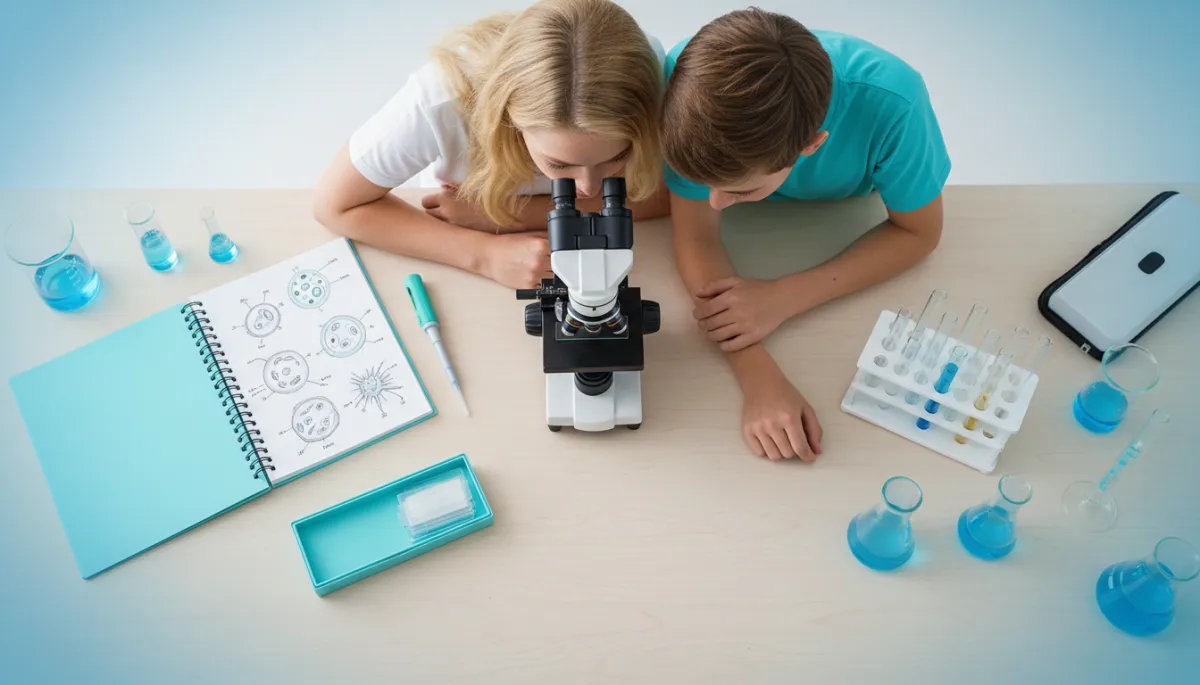
Simple, guided experiments turn your home lab into a shared learning experience for all ages.
Step 7: Connect with the DIY Bio Community
You don’t have to figure everything out alone. Across the US, there are community labs, online forums, and DIY biology groups full of friendly people who share protocols, safety tips, and project ideas. Many of them have already gone through the process of starting a home bio lab US hobbyists can be proud of, and they’re happy to help newcomers.
Look for community biology labs or makerspaces in your city that offer classes and open lab time.
Join online groups focused on DIY bio, citizen science, or home labs to ask questions and share results.
Bringing It All Together
Creating a Home Bio Lab is an exciting way to bring real science into your everyday life. When you: understand the legal basics, choose a clean and dedicated space, invest in a few essential tools, and build strong safety and disposal habits, you can confidently run a legal home biology lab in America that’s both inspiring and responsible.
Start small, stay curious, and keep learning from the wider DIY bio community. With each experiment, you’ll gain skills, confidence, and a deeper appreciation for the living world, all from a compact, well‑run lab just a few steps from your kitchen or bedroom door.