

How to Run Your First Microbiology Experiment Safely at Home
Dreaming of exploring the invisible world? This beginner-friendly guide walks you through setting up a safe home lab, gathering the right supplies, and running your very first microbiology experiment at home - without any risk. Perfect for beginner microbiology enthusiasts who want real science, not a biohazard.
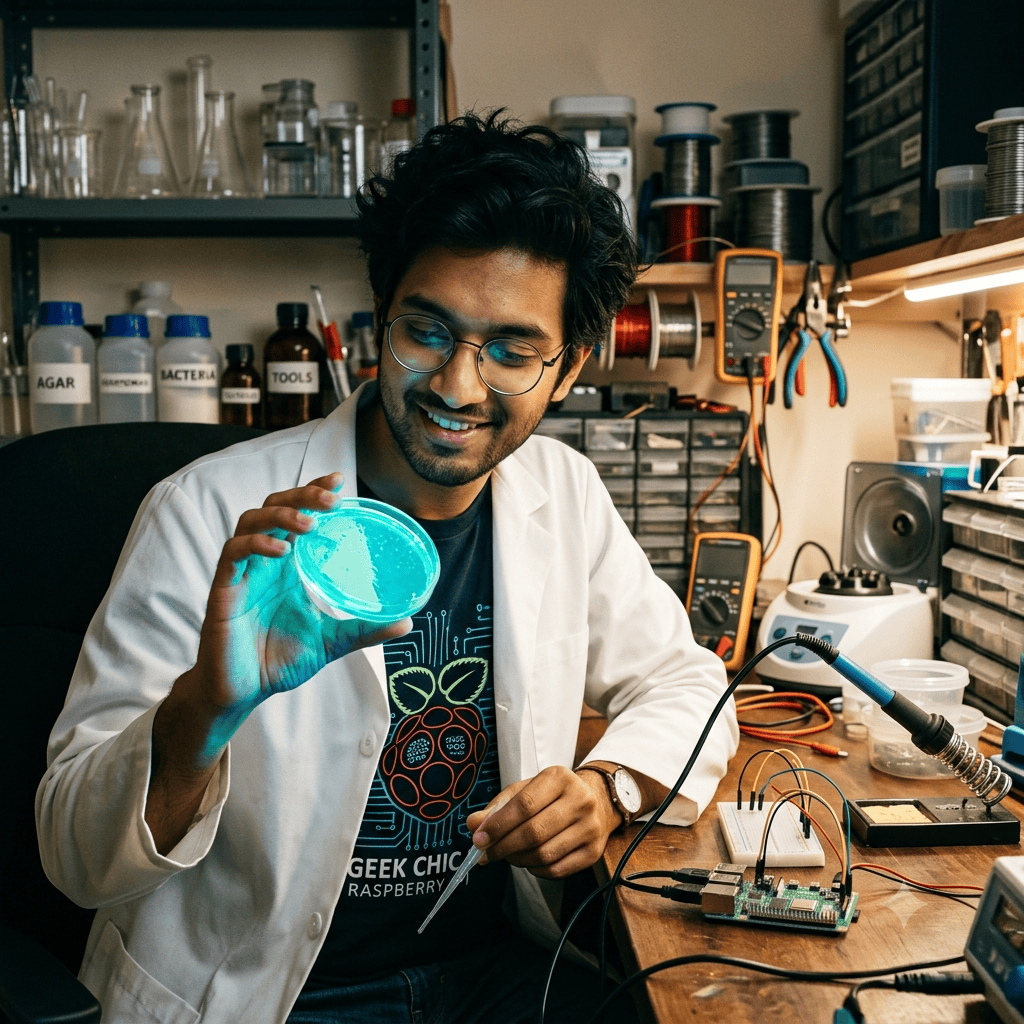
Hey there, budding scientist! So, you’ve been watching those mesmerizing time-lapse videos of bacteria swarming across a petri dish, and a little voice inside you whispered, “I want to try that.” I get it. The pull of the invisible world is irresistible.
But then the adulting part of your brain kicks in: Is it safe? Am I going to accidentally culture something terrifying in my kitchen?
Take a deep breath. That voice is exactly why you’re going to succeed. Running a microbiology experiment at home isn’t about turning your apartment into a level 4 biohazard lab.
It’s about curiosity, patience, and a rock-solid commitment to safety. I’m going to walk you through this exactly like I’d guide a friend through their first sourdough starter, only with a bit more disinfectant.
By the end of this post, you’ll have set up a safe home lab, run a fascinating beginner microbiology project, and discovered life where you least expected it. No degree required, no sleepless nights worrying about contamination.
Why Bring Microbiology Experiments Home?
You might be wondering, “Why bother doing a microbiology experiment at home when there are a million simulations online?” The truth is, there’s magic in the real thing.
When you hold a plate you inoculated yourself and see actual colonies, fuzzy, smooth, colorful, or perfectly round, you’re not just seeing pictures. You’re connecting with the foundational science that keeps our planet alive.
A home-based beginner microbiology project puts you in the driver’s seat. You learn to ask questions: Do my phone and my doorknob host different microbes? Does cooking really kill all the bacteria on that cutting board? Does handwashing actually work? (Spoiler: yes, spectacularly.)
You become a better critical thinker, and honestly, you’ll never look at your kitchen sponge the same way again. Plus, nurturing a safe home lab is the ultimate hobby for anyone who loves detail, enjoys a bit of quiet observation, and wants a science-backed excuse to buy fun gadgets. It’s citizen science at its most personal.
Building Your Safe Home Lab Without Breaking the Bank
Before we even think about swabbing a surface, we’re going to talk safety. I need you to promise me one thing: no cutting corners here.
A safe home lab isn’t expensive, but it does demand mindfulness. We’re working with living things, and we must treat them, and ourselves, with respect.
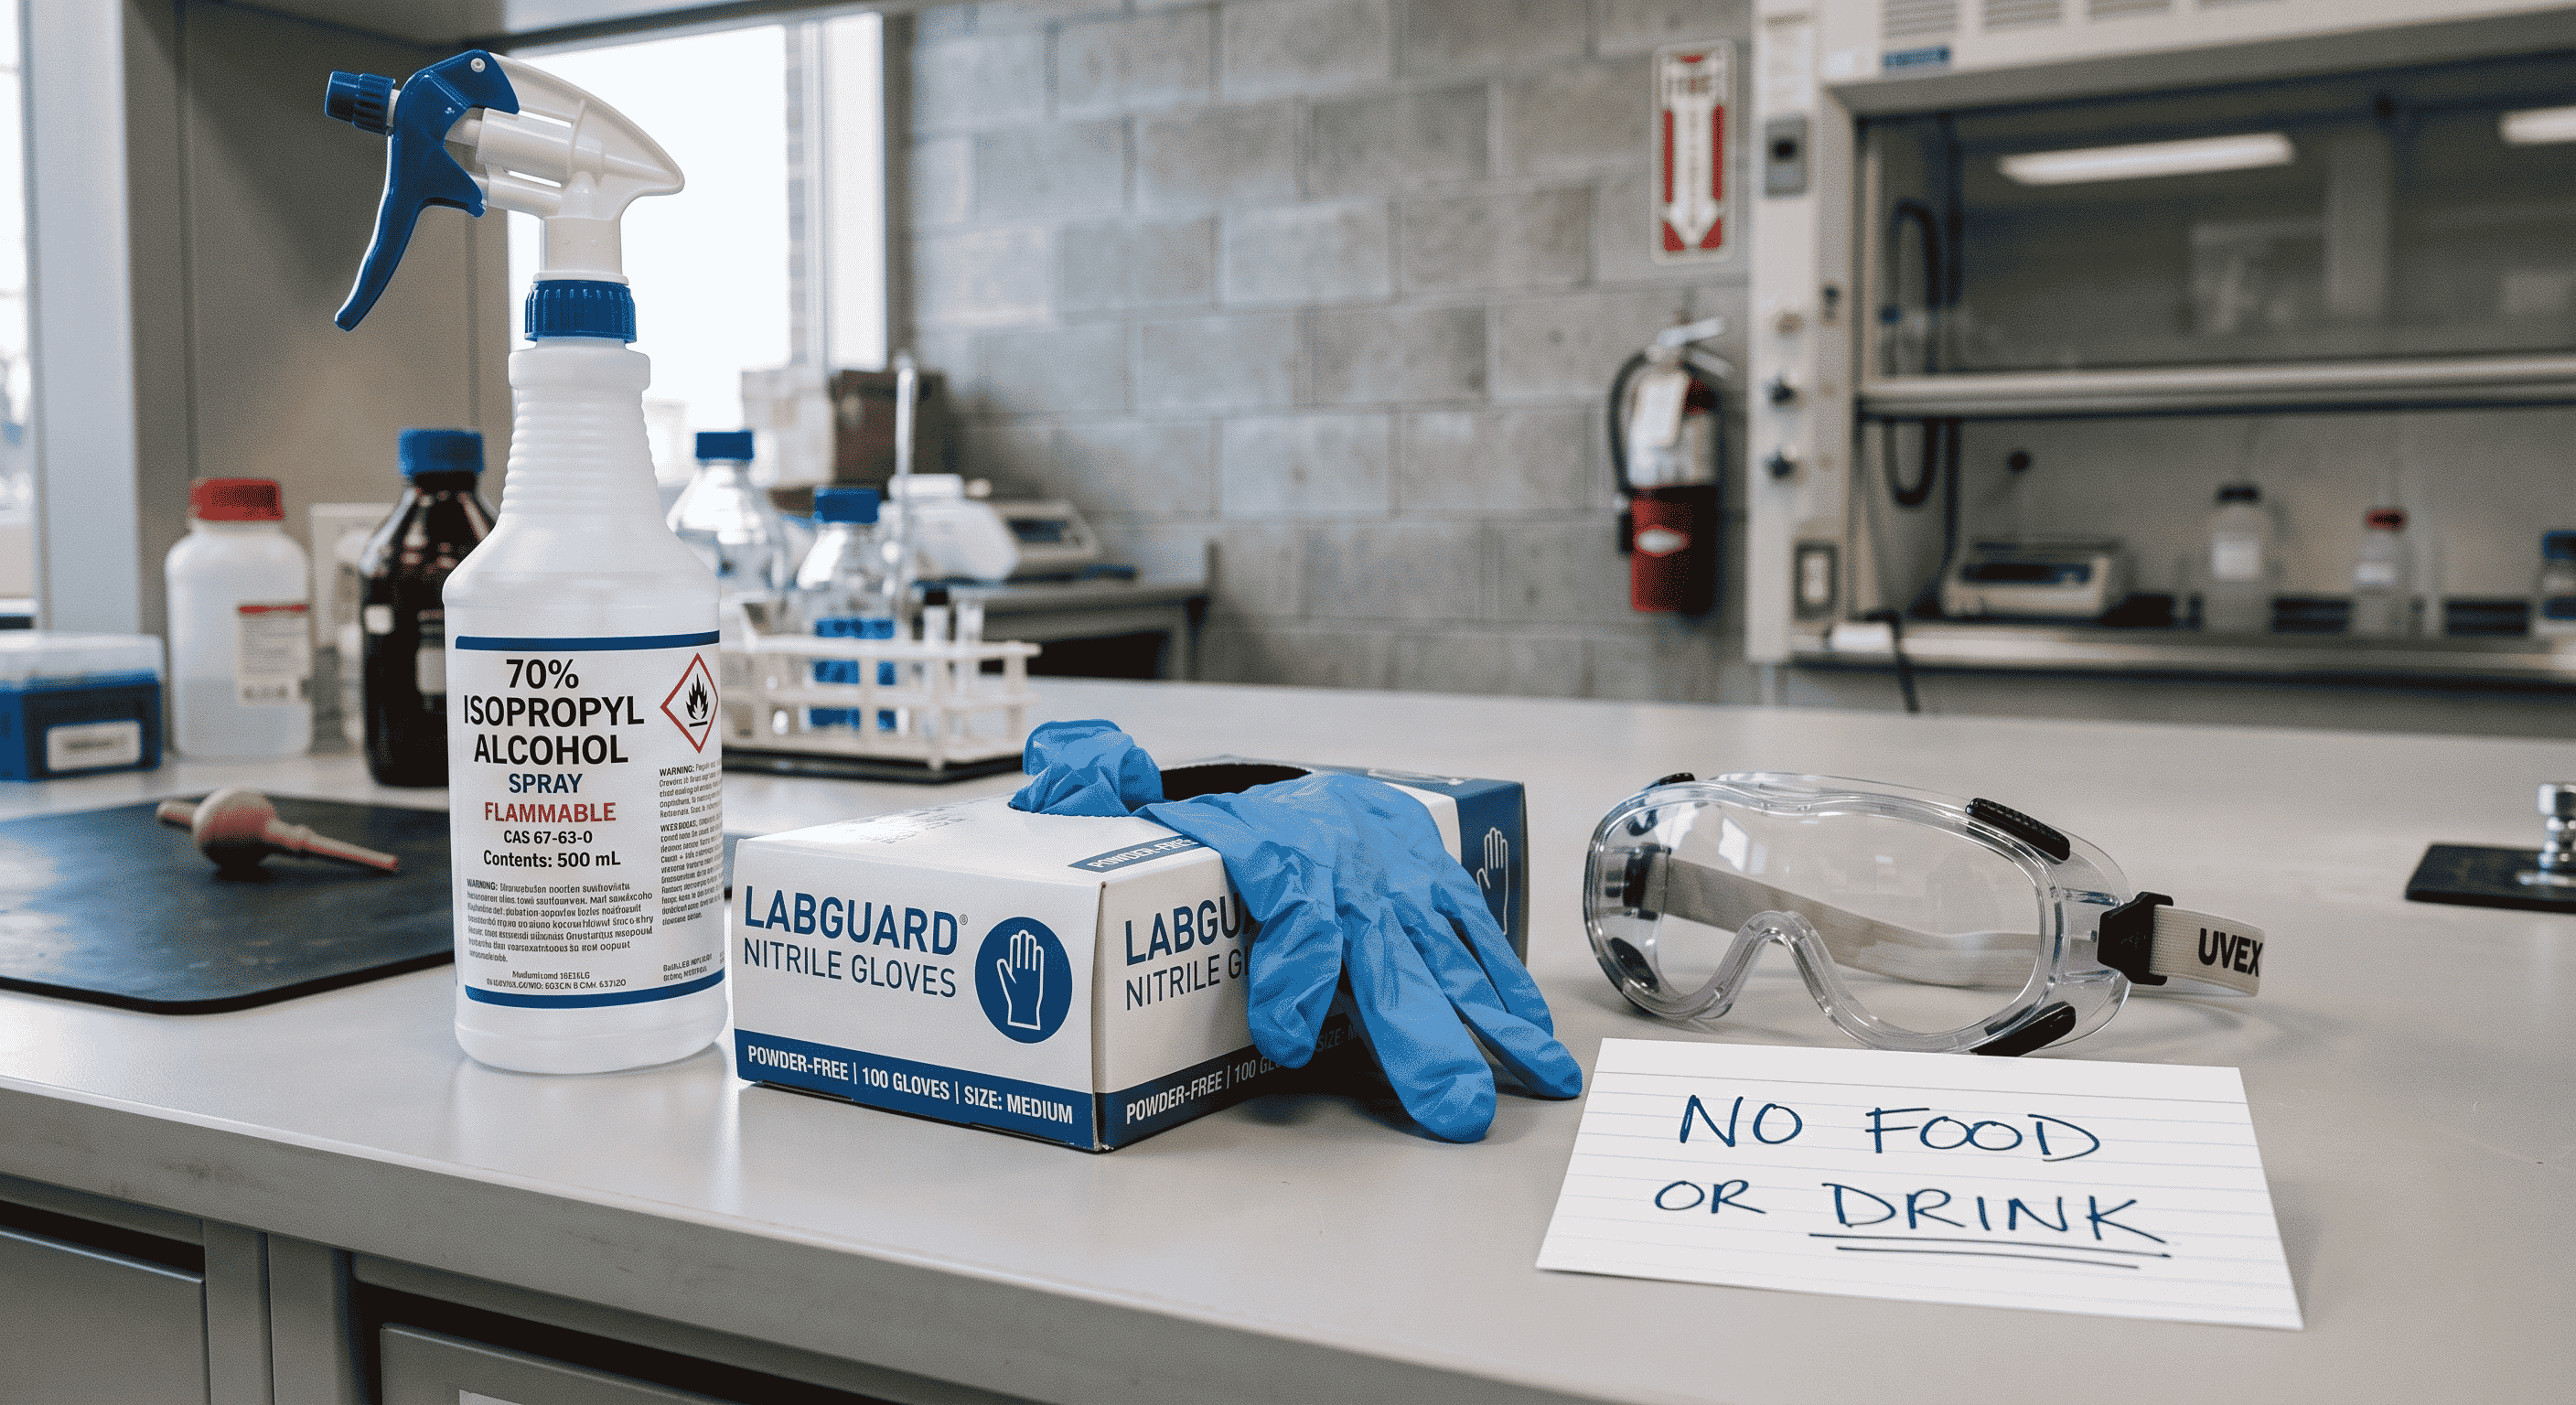
Designate a Clean Zone. Choose a hard, non-porous surface, like a kitchen counter or a desk that you can clear completely.
No food, no clutter. Wipe it down thoroughly with a 70% isopropyl alcohol spray or a freshly made 10% bleach solution.
Let it air dry. Keep a spray bottle of disinfectant within arm’s reach at all times. This is your laboratory bench now. (Feel fancy yet?)
Personal Protective Equipment (PPE). For a beginner microbiology project, your absolute essentials are simple: safety glasses or goggles, a pair of disposable nitrile gloves, and clothes you don’t mind changing out of. Tie back long hair.
If you wear a face mask (which I recommend), you’ll also reduce the chance of breathing onto your plates. None of this is overkill, it’s the foundation of a safe home lab.
Control Your Aerosols. This sounds scarier than it is. Basically, you don’t want to fling microbes into the air. Never sniff an agar plate directly.
When you open a plate, hold the lid like a shield, only open it enough to work, and close it quickly. Work gently. No sudden movements, no waving your hands around. You’re a slow-motion scientist.
The Golden Rule of Temperature. Many human pathogens love our body temperature, 37°C (98.6°F). In your safe home lab, we will deliberately avoid incubating cultures at this temperature.
Your first microbiology experiment at home will use room temperature incubation (around 20–25°C / 68–77°F). This selects for harmless environmental microbes, the kind living in soil, on plant leaves, or on your clean desk, instead of anything that could make you sick.
This single choice eliminates the vast majority of risk, as recommended by the American Society for Microbiology’s biosafety guidelines for teaching labs. (See ASM Guidelines for Biosafety in Teaching Laboratories)
Before we dive into the nitty-gritty of supplies, you might want to read more about preparing your workspace. I wrote a whole guide on that: [The Ultimate Beginner’s Guide to Sterile Technique at Home](#) (internal link).
H2: Essential Equipment for a Beginner Microbiology Experiment
You don’t need a multi-thousand-dollar autoclave. With smart hacks, you can create a fully functional beginner microbiology lab for very little money. Let’s build your shopping list.
1. Pre-poured Nutrient Agar Plates. For your first go, buy them. Seriously. Homemade agar is brilliant fun. I’ve got a post on [Easy Homemade Agar Recipes for Science Projects], but pre-poured sterile plates remove a massive variable.
Look for “nutrient agar” plates online or from a science supply store. They’re inexpensive, arrive sealed in sterile packaging, and are ready to use.
2. Sterile Swabs and Inoculating Loops. Cotton swabs (the regular drugstore kind) work beautifully for surface sampling. Just make sure they are sterile when you open the package.
For streaking technique, disposable sterile inoculating loops are a game-changer. They cost pennies each and eliminate the need for a flame sterilizer, which is a huge safety win for a safe home lab.
3. Disinfectant and a Spray Bottle. I’ll say it again: 70% isopropyl alcohol. Not 90% that evaporates too fast to kill effectively.
Put it in a spray bottle and use it liberally on your work surface, your gloves, and even the outside of sealed plates before you bring them into your clean zone.
4. Incubation Container. Remember, room temperature. Place your inoculated plates in a clean, dark place: a clean cardboard box, a plastic storage bin with the lid slightly ajar, or a high cupboard away from direct sunlight.
If your house is cold and you’re struggling to maintain 22°C, you can build a gentle incubator. I describe exactly how in [Building a DIY Incubator for Under $20], but room temperature works perfectly for a first microbiology experiment at home.
5. A Disposal Plan. You must seal and dispose of cultures safely before they go anywhere near your household trash. Get heavy-duty zip-top bags and your disinfectant.
I’ll walk you through the step-by-step disposal later. Trusted institutions like the CDC’s BMBL provide exhaustive biosafety resources, and while that’s more than we need, it shows the importance of proper kill-and-dispose protocols. (External link: CDC Biosafety in Microbiological and Biomedical Laboratories (BMBL))
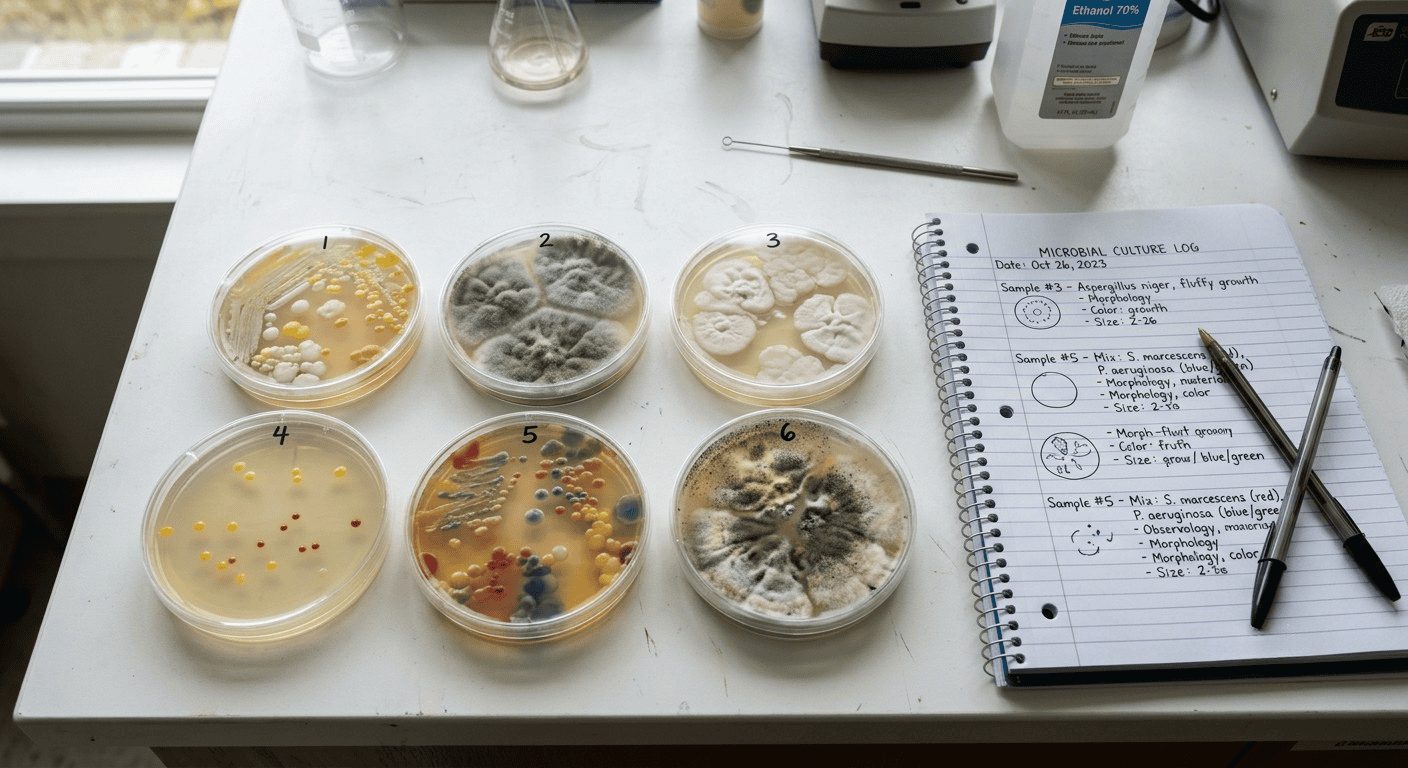
6. Your Lab Notebook. A simple spiral notebook becomes a real scientific record. Write the date, what you sampled, your incubation method, and any observations. This habit transforms a fun activity into genuine beginner microbiology.
Step-by-Step: Running Your First Safe Microbiology Experiment at Home
Alright, moment of truth. You’ve got your safe home lab set up, your plates are in the fridge (take them out an hour early to warm to room temperature, label the bottoms immediately, not the lids, because lids can get swapped), and you’re buzzing with excitement.
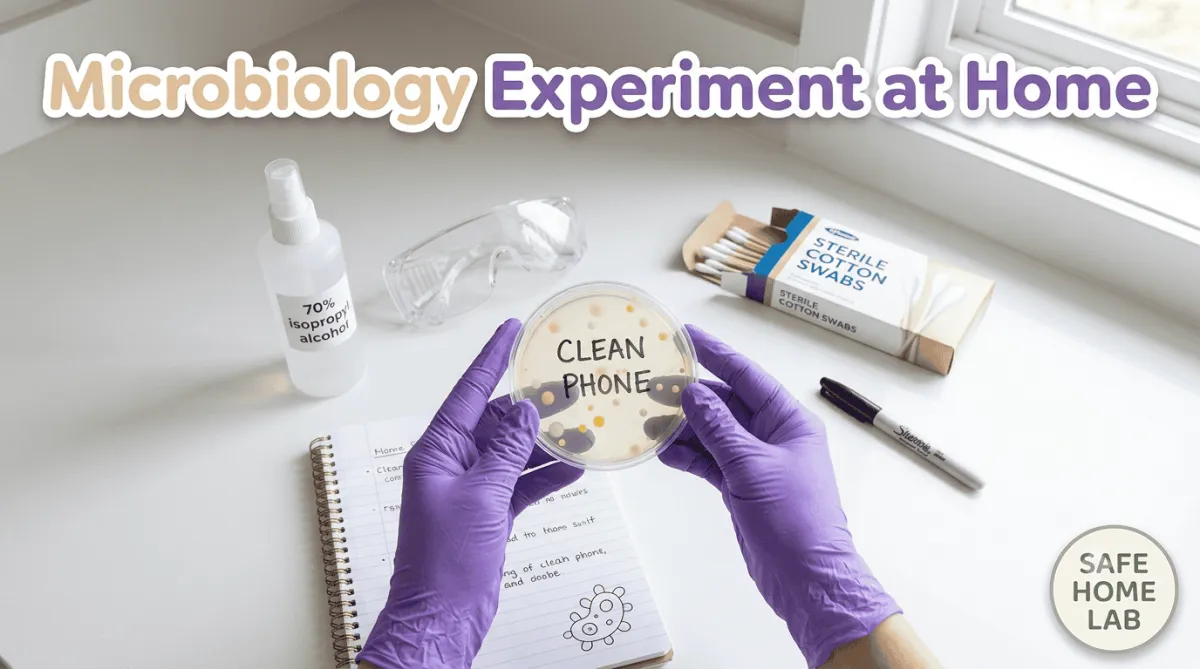
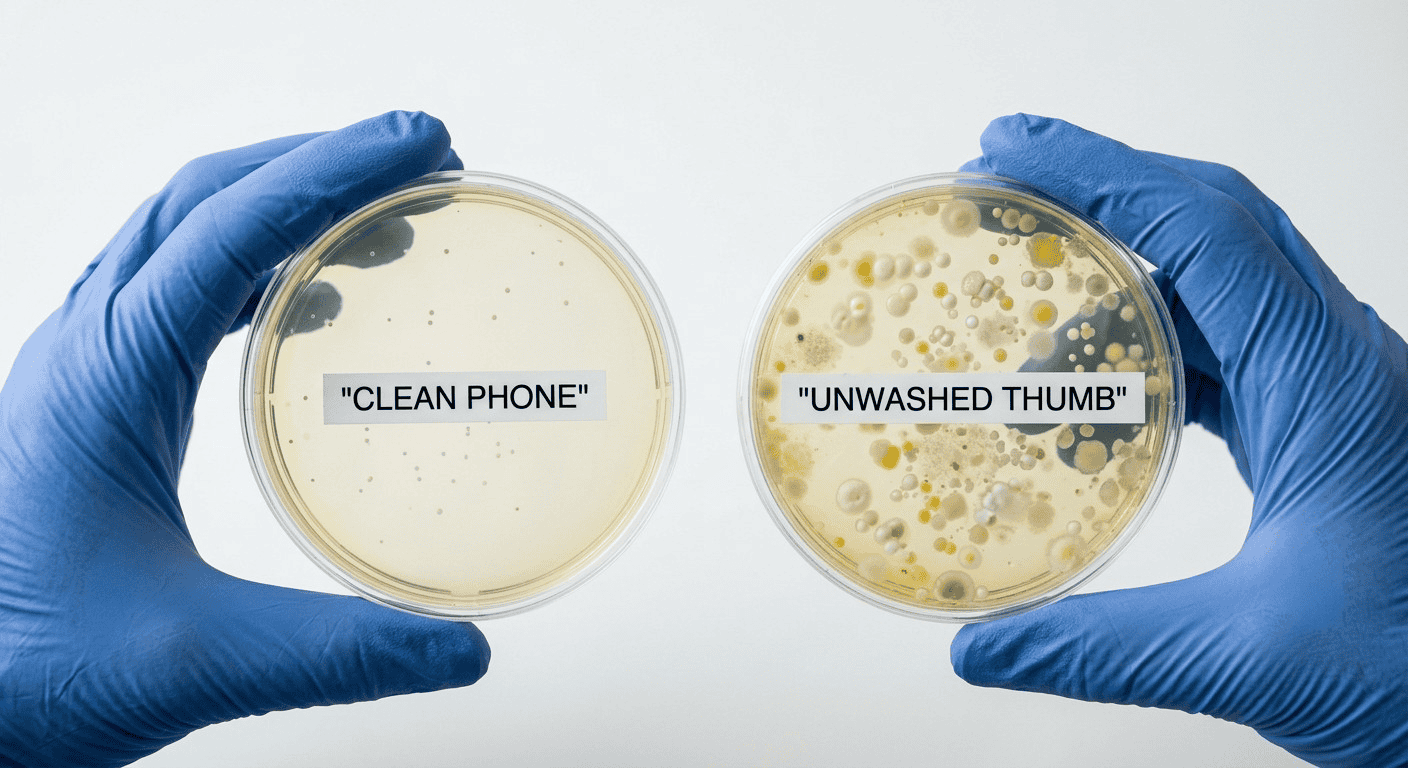
Let’s do your first microbiology experiment at home. We’ll compare a “clean” surface to a “dirty” one to see the invisible world in action. Choose your test surfaces: maybe your freshly sanitized phone screen versus your unwashed thumb, or the inside of a clean drinking glass versus the sole of a shoe.
Step 1: Prepare the Plates. With gloved hands, wipe the outside of the sealed agar plate packaging with alcohol. Place two plates on your disinfected bench. Using a permanent marker, label the bottom of Plate 1 with “Clean Phone (Swabbed with alcohol),” the date, and your initials. Label Plate 2 “Dirty Thumb (Unwashed).” Work with the plates closed for now.
Step 2: Gather the Sample (Aseptic Swabbing). This is where the “slow-motion scientist” mindset shines. Moisten a sterile swab with a drop of sterile water or saline (a tiny pinch of salt dissolved in boiled then cooled water works in a pinch).
Rub the swab gently but thoroughly over your chosen “clean” surface. With one hand, lift the lid of Plate 1 just enough to slide the swab in, don’t take the lid off completely. Gently roll and streak the swab across about a third of the agar surface, creating a zigzag pattern.
Close the plate immediately. Spray your gloved hands and the outside of the plate with alcohol. Discard the swab into your designated “contaminated waste” zip-top bag right away.
Step 3: Sample the Second Surface. Repeat exactly the same process with a fresh sterile swab on your “dirty” surface. Inoculate Plate 2. Seal the contaminated waste bag with a bit of alcohol sprayed inside before closing it partially for now.
Step 4: The Streak Technique (Optional but Awesome). If you bought sterile inoculating loops, you can take your microbiology experiment at home to the next level.
After the swab streak, use a loop to streak out the second and third quadrants of the plate for isolated colonies.
This isn’t required for day one, but it’s a brilliant skill. There’s a fantastic guide from Science Buddies on this. (External link: Science Buddies Microbiology Safety and Streak Plate Technique)
Step 5: Incubate. Place both plates agar-side UP (so condensation doesn’t drip onto your microbes) inside your clean incubation box. Put the box somewhere room temperature, dark, and undisturbed.
Set a reminder to check them in 24 hours, 48 hours, and again at 72 hours. Never open the plates after incubation. Observe the colonies through the lid and the bottom.
Understanding the Science on Your Plates
After 24 to 48 hours, you’ll gasp. Tiny dots appear, then larger colonies. The “dirty” plate will likely burst into a galaxy of creamy, yellow, white, or even orange spots. The “clean” plate might show a few lonely colonies. This isn’t a failure, it’s your data.
Counting colonies gives you a rough idea of the microbial load. Notice the shapes: circular, irregular, filamentous. Describe the margins: smooth, wavy, fuzzy. The elevation: flat, raised, crater-like.
The color and texture. Each distinct colony type likely represents a different species of environmental bacteria, probably from genera like Bacillus, Micrococcus, or Staphylococcus epidermidis, the harmless cousins of the pathogens you might have heard of.
Because you incubated at room temperature, you’ve grown the friendly neighborhood microbes. This is a core principle of beginner microbiology: knowing your incubation parameters defines your safety envelope.
If you ever try making your own agar, I’ve outlined the smoothest process in [Easy Homemade Agar Recipes for Science Projects], again with strict room-temperature incubation.
H2: Cleanup, Disposal, and the Zero-Trace Philosophy
A safe home lab leaves absolutely no trace. This step is non-negotiable. When your observation period is over (don’t go beyond 5 to 7 days, as molds can sporulate), it’s time to safely retire your tiny ecosystem.
Without opening the plates, pour 70% isopropyl alcohol directly through the gap between the lid and the base until the entire agar surface is flooded. Replace the lid tightly, let the plate sit for 30 minutes.
The alcohol will kill the microbes. Then, double-bag the sealed, flooded plates in heavy-duty zip-top bags, spray the outside of the final bag with alcohol, and immediately throw it into the outdoor trash.
Never in your kitchen bin. Wipe your entire work area down with disinfectant again. Remove your gloves inside out over the trash, and wash your hands like a surgeon. The goal: if you’ve done it right, no one would ever know a microbiology experiment at home took place.
Common Mistakes and How to Avoid Them
Learning from my (and others’) early slip-ups will make your beginner microbiology journey much smoother.
Opening Plates After Incubation. The number one mistake. I promise, you can see colonies perfectly through the sealed lid. Sniffing or poking a fuzzy colony is a quick way to inhale spores or contaminate your space. Keep them closed.
Skipping the Alcohol Wipe on Gloves. You touch your phone, then you touch a plate. Contamination! Disinfect your gloves before handling plates, and change them if you touch anything non-sterile. Your safe home lab discipline is everything.
Incubating Too Warm. A warm spot like the top of the fridge or a sunny windowsill can push temperatures into the danger zone. Stick to a cool, dark cabinet. If you’re curious about regulated warmth, [Building a DIY Incubator for Under $20] explains how to do it right without creating a biohazard.
Throwing Plates in the Household Trash Un-killed. Please don’t. Flood with alcohol or a strong 10% bleach solution before bagging. It’s the only way to guarantee safety.
For a deeper look at how to sidestep beginner errors, check out [Top 5 Mistakes to Avoid in Your Home Lab]. It’ll save you a lot of sad, barren plates.
Taking Your Safe Home Lab Further
Once you’ve mastered the swab-and-grow, a whole universe of safe, beginner-friendly projects opens up. You can test the efficacy of different handwashing times, sample pond water for fascinating protists, or isolate yeast from flower nectar.
You might even dip into simple Winogradsky columns to build whole photosynthetic bacterial ecosystems.
The key is that you never lose the mindset you built today: a microbiology experiment at home is a pact with safety, curiosity, and respect for the invisible. Keep learning, stay gentle, and let your questions lead the way.
Key Points to Remember
A safe home lab depends on a designated clean zone, proper PPE, and a strict no-sniff, no-open policy after incubation.
Use only room temperature incubation (20 to 25°C) for your first microbiology experiment at home to cultivate harmless environmental microbes.
Pre-poured agar plates and disposable loops make beginner microbiology accessible and drastically reduce risk.
Always kill cultures inside sealed plates with 70% isopropyl alcohol before double-bagging and disposing of them in an outdoor trash bin.
Document everything. Observing without opening builds your skills and keeps your safe home lab truly safe.
Running your first microbiology experiment at home is like unlocking a secret level of the world. Suddenly, you’re aware of every surface, every touch, every microscopic traveler.
And the best part? You did it safely, intelligently, and with the glee of a true explorer. Whether this becomes a lifelong hobby or a one-weekend wonder, you’ve now glimpsed a universe that was always there, waiting for you.
Have questions about setting up your own safe home lab? Want to share your petri dish masterpieces or ask about a weird colony you observed? I’d love to hear from you. Drop me an email let’s geek out together.
Contact us at [[email protected]] for inquiries, troubleshooting, or just to say hi.
Your invisible journey is just beginning.