

Step-by-Step: How to Extract DNA at Home with Kitchen Supplies
Have you ever wanted to see the blueprint of life with your own eyes. No lab coat, no fancy equipment, just stuff you already have in your kitchen? You absolutely can. Learning how to extract DNA at home is one of those “wait, I can actually do that?” moments that turns a dull afternoon into a genuinely magical science experience.
This DIY DNA extraction uses everyday ingredients to pull the stringy, gooey stuff of genes right out of a strawberry (or a banana, or even your own spit). I promise you, the moment you see those wispy white strands floating in a glass, you’ll feel like a proper biohacker.
In this guide, I’ll walk you through every step of this kitchen DNA experiment, explain the simple science that makes it work, and share all the little tips I’ve learned from doing this with friends, kids, and frankly, by myself more times than I’d like to admit.
By the end, you’ll not only know how to extract DNA at home, you’ll understand why it works, and you’ll have a wad of real genetic material you can actually pick up with a toothpick. Let’s get our hands soapy and our strawberries smashed.
Why a Kitchen DNA Experiment Is the Perfect Blend of Fun and Learning
Before we jump into the messy bit, let’s set the stage. DNA, or deoxyribonucleic acid, is the instruction manual for every living thing. It’s coiled up so tightly inside your cells that you’d never see it without help.
A kitchen DNA experiment strips away the cell’s walls and membranes, unspools those tight proteins, and lets the DNA float free, right where you can grab it.
Doing this at home turns an abstract biology concept into something tangible. It’s not just a party trick; it’s a doorway to understanding genetics, biotechnology, and the very stuff that makes you you.
If you’re the kind of person who loves hands-on science, you might also enjoy our post on [5 Edible Science Experiments That Taste as Good as They Teach]. And if you’re doing this with young learners, our guide on How to Talk to Kids About DNA Without Overwhelming Them can be a lifesaver.
What You’ll Need to Extract DNA at Home (All From the Kitchen)
One of the best parts of this DIY DNA extraction is that the supply list is laughably simple. You probably have everything right now. Here’s your grocery store lab kit:
1-2 fresh strawberries (ripe ones work best; you can also use a banana, kiwi, or even wheat germ)
1/4 cup of water
1 teaspoon of table salt
2 teaspoons of liquid dish soap (clear, unscented is ideal, but any will do)
1/4 cup of very cold rubbing alcohol (isopropyl alcohol, 70% or higher, stored in the freezer for at least an hour - don’t skip the cold part)
A resealable plastic bag
A fine-mesh strainer, coffee filter, or a piece of cheesecloth
A small clear glass or a test tube
A toothpick, bamboo skewer, or a thin glass rod
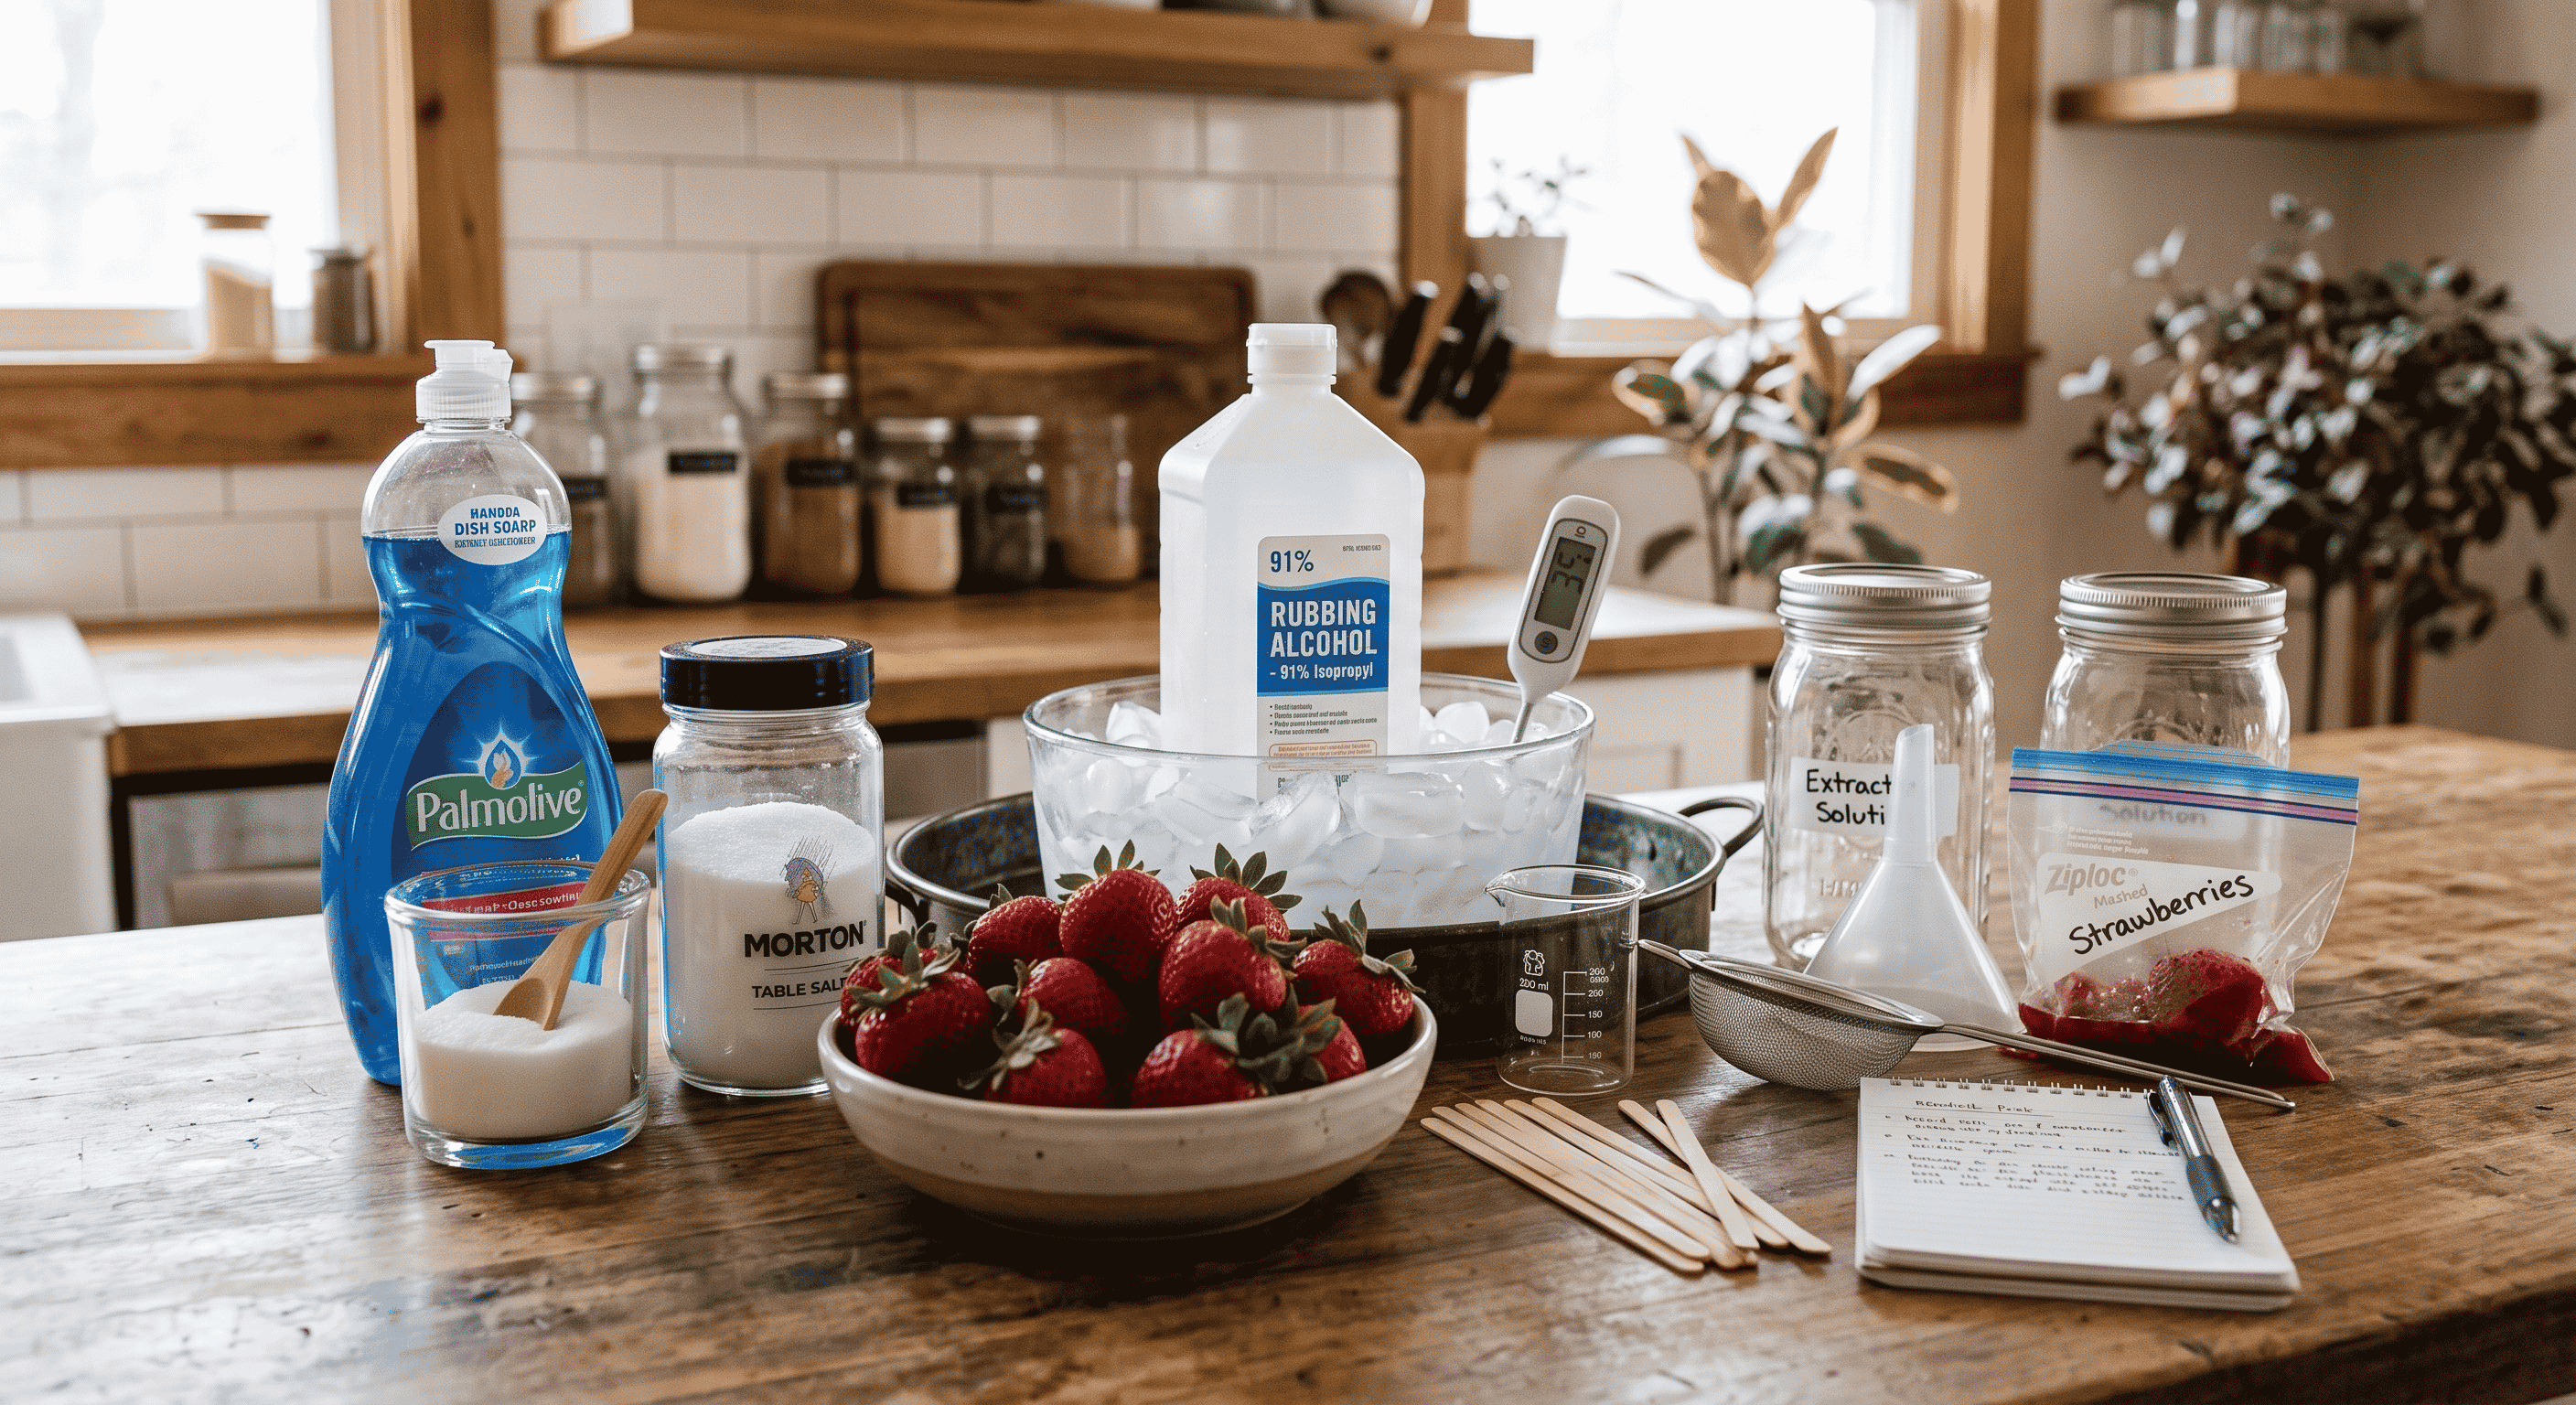
Everything here has a job. The soap dissolves the fatty cell membranes. The salt helps the DNA clump together and knocks off some proteins. The freezing-cold alcohol makes the DNA precipitate into a visible solid.
When you extract DNA at home, you’re not using any magic, just the same biochemical principles scientists use, wrapped in a friendly kitchen experiment.
The Science Behind DIY DNA Extraction (In Plain English)
You don’t need a degree to understand why this kitchen DNA experiment works. Think of a strawberry cell like a tiny, locked room containing a treasure chest (the nucleus). Inside that chest are long, thin threads of DNA wound tightly around proteins. To get the treasure out, you need to break down the walls, open the chest, and untangle the threads enough to see them.
Here’s the breakdown:
Mashing physically crushes the cell walls, a bit like smashing a nut with a hammer.
Soap dissolves the phospholipid bilayer—the fatty outer skin of each cell and the nuclear membrane. It’s exactly why soap washes away grease; fat dissolves fat.
Salt helps DNA strands stick together and separates some of the proteins (called histones) that the DNA is wrapped around. The salt neutralizes the negative charge of the DNA, making it less soluble in water and more inclined to clump.
Cold alcohol is the showstopper. DNA is not soluble in alcohol, especially when it’s ice-cold. When you layer the alcohol on top of the strawberry goo, the DNA pops out of solution and becomes those white, snot-like strands you can see and even spool onto a stick.
There’s a wonderful deep dive into DNA structure available on [Learn.Genetics from the University of Utah](https://learn.genetics.utah.edu/content/basics/), a resource I trust completely.
For a broader look at what DNA does, the [NIH National Human Genome Research Institute](https://www.genome.gov/about-genomics/fact-sheets/Deoxyribonucleic-Acid-Fact-Sheet) has an excellent fact sheet that’s easy to digest.
These are the same sources I used back when I first tried to extract DNA at home and wanted to know exactly what I was looking at.
Step-by-Step: How to Extract DNA at Home Like a Kitchen Scientist
Alright, let’s get to the fun, sticky part. I’ll walk you through each movement. Read through everything once before you start, then put on some music and enjoy the process. This DIY DNA extraction takes about 15 minutes, and the payoff is immediate.
Step 1: Chill Your Alcohol and Prep Your Station
Place the rubbing alcohol in the freezer at least an hour before you begin. This is non-negotiable. Room-temperature alcohol won’t give you a good DNA yield.
While it chills, lay down some newspaper or paper towels. Things might get a little pink and juicy.
Step 2: Mash the Strawberries into a Soup
Hull the green tops off 1-2 strawberries and pop them into the resealable plastic bag. Press out most of the air, seal it, and squish with your fingers. Really go for it, you want a smooth, lump-free liquid.
This physical mashing breaks open the tough cell walls. If you’re doing this with a kid, hand the bag over and tell them to go wild. Mashing for 2-3 minutes is perfect.
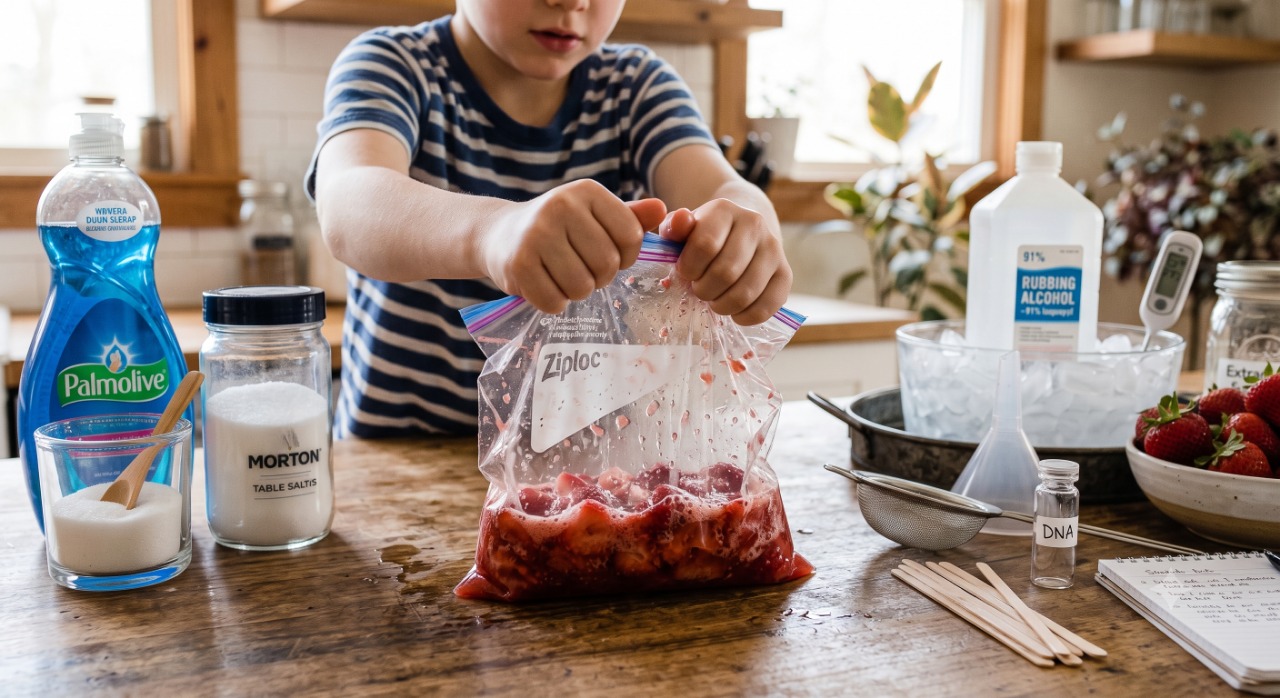
Step 3: Mix Your Extraction Buffer
In a separate cup or bowl, combine 1/4 cup of water, 1 teaspoon of salt, and 2 teaspoons of dish soap. Stir gently, you don’t want a bubble party. This soapy salt solution is your extraction buffer.
Pour it into the bag with the mashed strawberries, seal again, and gently massage the bag for another minute. Don’t shake too hard; you’re blending the soap into every nook and cranny so it can dissolve those fatty membranes.
Step 4: Filter Out the Chunks
Place your fine-mesh strainer or coffee filter over the clear glass. If using a coffee filter, set it inside a funnel or just hold it carefully. Pour the strawberry soup through the filter.
You want to collect the pinkish liquid that drips through; this is your DNA-containing filtrate. Let gravity do the work; don’t squeeze the filter or you’ll push through debris that clouds the view. You only need about a tablespoon or two of liquid in the glass, so a little patience here pays off.
Step 5: The Magical Layer: Add Ice-Cold Alcohol
Take your frosty rubbing alcohol out of the freezer. Tilt the glass slightly and very slowly pour the cold alcohol down the inside edge so it forms a distinct layer on top of the strawberry liquid.
You want roughly equal parts alcohol and strawberry filtrate. Don’t mix! You’ll immediately start seeing a cloudy, white interface form between the two layers. That’s DNA—clumps of it, precipitating right in front of you.
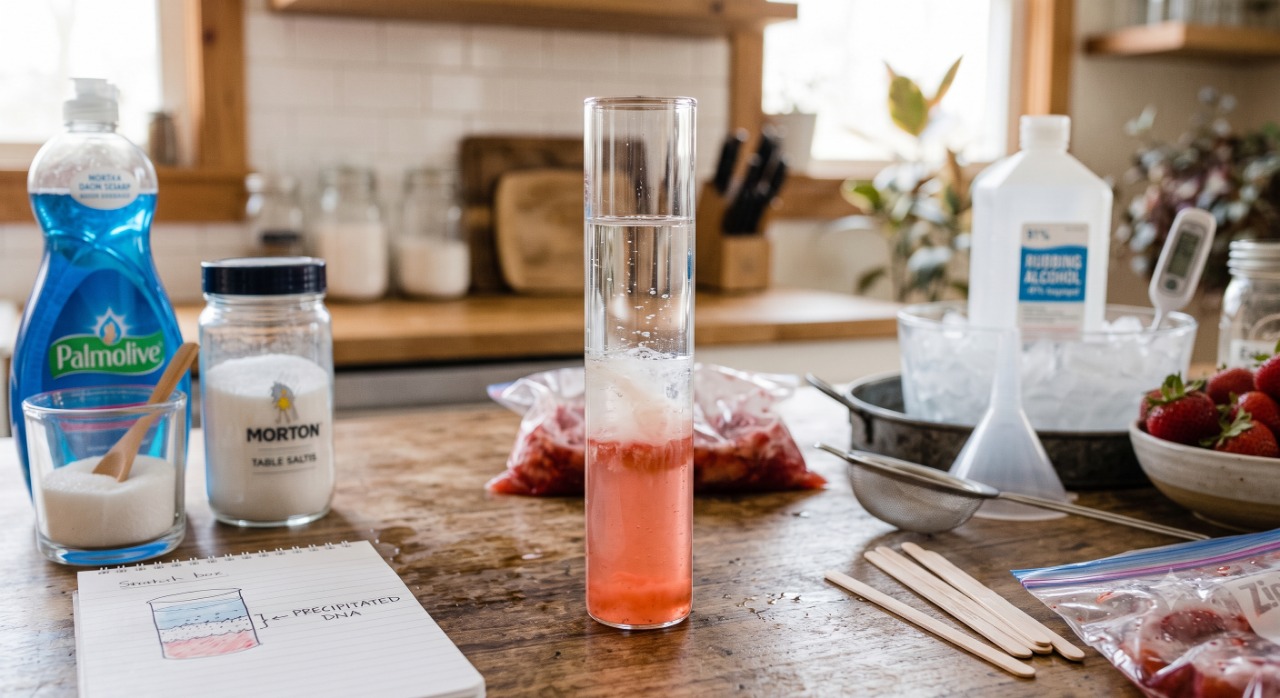
Step 6: Spool the DNA and Say Hello to Your Genes
Let the glass sit undisturbed for 2-3 minutes. You’ll see more and more white strands collecting in the alcohol layer, sometimes with tiny bubbles trapped inside.
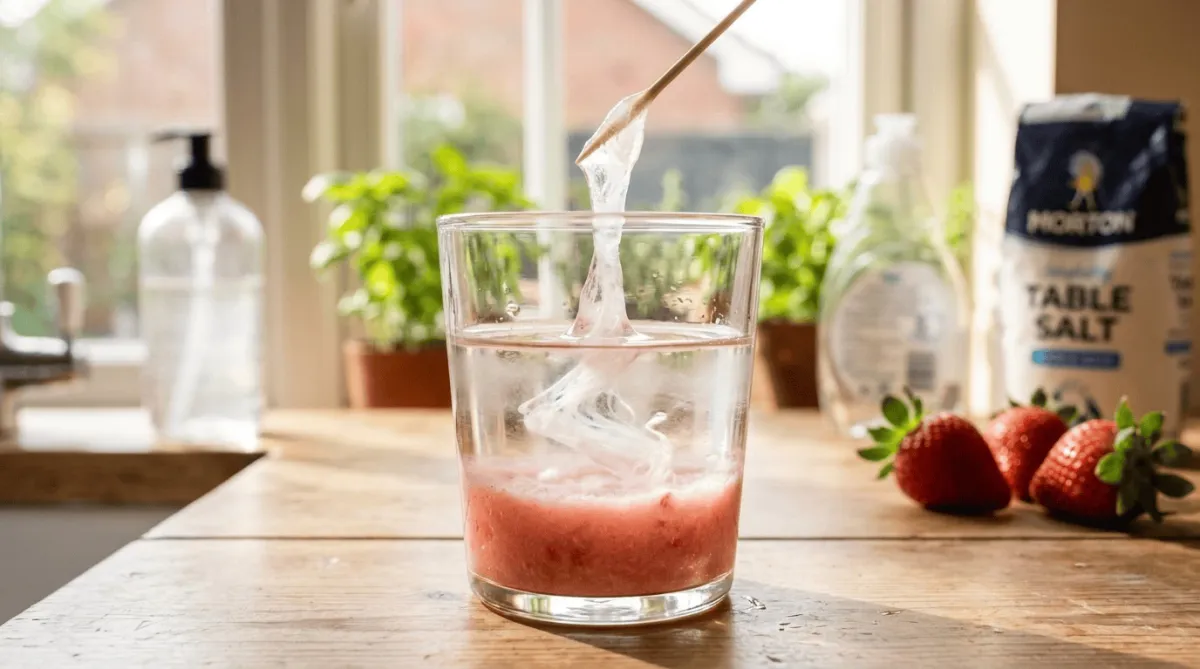
Dip your toothpick or skewer into the alcohol layer and gently twirl it. The DNA will stick to the stick like cotton candy to a cone.
Pull it out slowly. What you’re holding is millions of DNA strands clumped together. It looks like clear or whitish snot, feels slippery, and it’s 100% real.
You just performed a kitchen DNA experiment worthy of a science fair trophy.
Tips to Make Your DIY DNA Extraction Flawless Every Time
I’ve messed this up enough times to know the little things that make a huge difference. Let me save you the troubleshooting texts.
Strawberry ripeness matters. Overripe, mushy strawberries release more DNA and break down easier. Greenish, hard ones will fight you.
Soap is essential, but don’t go overboard. Too much soap can create so many bubbles that the DNA gets trapped and won’t precipitate cleanly. Stick to the ratio.
Cold alcohol isn’t a suggestion. I once tried it with room-temperature isopropyl and got nothing but a faint haze. Ice-cold ethanol or isopropyl makes the DNA instantly visible.
Don’t shake after adding alcohol. Any mixing and the DNA might not gather into visible threads. The layered effect is where the magic happens.
If using a banana, add a pinch of meat tenderizer (fresh pineapple juice works too). Bananas have more proteins that bind DNA; the enzymes in tenderizer break them down and yield cleaner results. This is a great variation if you want to extract DNA at home from a different fruit.
For more trouble-free home science, our post [Common Science Experiment Fails and How to Fix Them] is packed with wisdom from my own kitchen disasters.
What to Do With Your Extracted DNA
Now you’ve got a glob of genetic material on a stick. It might feel like a weird trophy, but there are genuinely cool ways to appreciate it.
Store it in a tiny jar of rubbing alcohol. The DNA will keep for years if submerged in alcohol and sealed. I have a little vial on my bookshelf that still looks like a tiny ghost.
Look at it under a microscope. Smear a bit on a slide with a drop of methylene blue (from an aquarium store) and you can sometimes see the mass of fibres at 400x. You won’t see the double helix, but the wispy nature is mind-blowing.
Turn it into a lesson about genetics. This kitchen DNA experiment is a brilliant launchpad for talking about traits, inheritance, and why your hair curls but your sister’s doesn’t. If you’re looking for more resources, the [National Human Genome Research Institute’s education page](https://www.genome.gov/education) has classroom-friendly materials that expand beautifully on what you just did.
Do it again with different fruits. Compare the amount of DNA you get from a strawberry versus a kiwi versus a tomato. You’ll find that polyploid fruits (strawberries have 8 copies of each chromosome!) give you a bumper crop of visible DNA.
I remember the first time I successfully managed to extract DNA at home, I FaceTimed my mom and held up a goopy toothpick like I’d won an Oscar.
She, not missing a beat, asked if that meant I could now clone the dog. Not quite, Mom, but the spark of curiosity is the real win.
Keep the Curiosity Alive – More Kitchen Science to Explore
Once you’ve mastered this DIY DNA extraction, you might be hooked on the idea that a kitchen is just a lab in disguise.
I’d love to invite you to try another crowd-pleaser: making a pH indicator from red cabbage, or building a homemade lava lamp with oil and Alka-Seltzer. We’ve got step-by-step guides for all of those right here on the blog.
Check out [How to Turn Your Kitchen into a Science Lab (No Goggles Required)] for a full list of safe, spectacular experiments.
And if you’re working with a group or a classroom, our [Ultimate Guide to At-Home Science Projects for Kids] breaks everything down by age and clean-up level.
Summary: You’re Officially a Home DNA Extractor
Let’s quickly recap what you just accomplished. You smashed strawberries to break cell walls, used soap to dissolve membranes, added salt to help DNA clump, filtered out the gunk, and used freezing-cold alcohol to make actual DNA precipitate out as visible, touchable strands. In doing so, you turned your kitchen counter into a biotech bench and learned exactly how to extract DNA at home with zero specialized tools.
Key takeaways to remember:
Any soft, ripe fruit works, but strawberries are the rock stars because they’re packed with DNA.
Cold alcohol and a gentle pour make the DNA visible.
The stringy white stuff isn’t a single strand of DNA—it’s millions of strands tangled together, and it’s 100% real.
This kitchen DNA experiment demystifies genetics and makes science feel accessible, human, and wildly cool.
Now, I’d love to hear about your results. Did your DNA look like a little jellyfish? Did you try bananas and get a surprise?
Drop me a note, ask questions, or send a picture of your spooled DNA. I geek out over this stuff every single time.
Contact us at [[email protected]] for inquiries, collaborations, or just to share your homegrown science wins.
Whether you’re a parent looking for weekend activities, a teacher building a remote lab kit, or a curious soul who always wanted to see the code of life with your own eyes, I’m here to help. Let’s keep making science feel like Saturday morning magic.