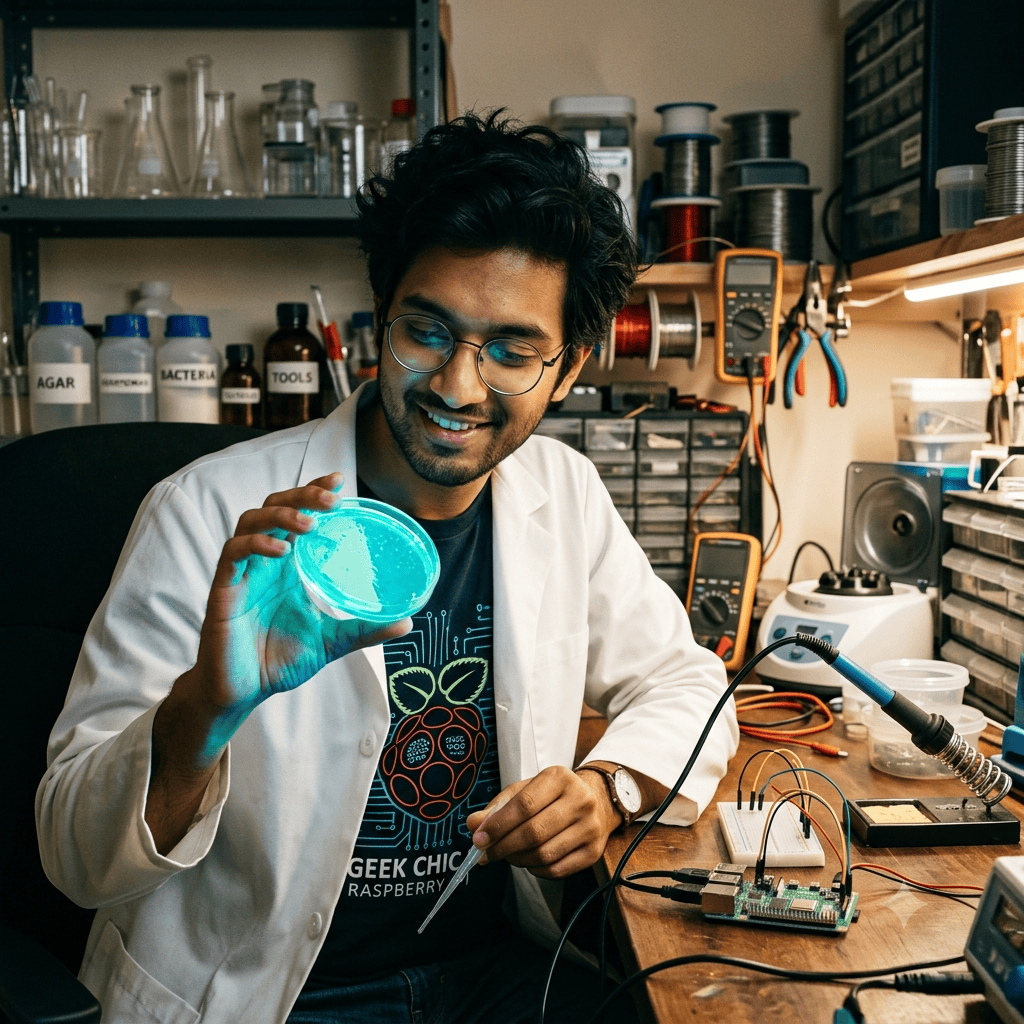


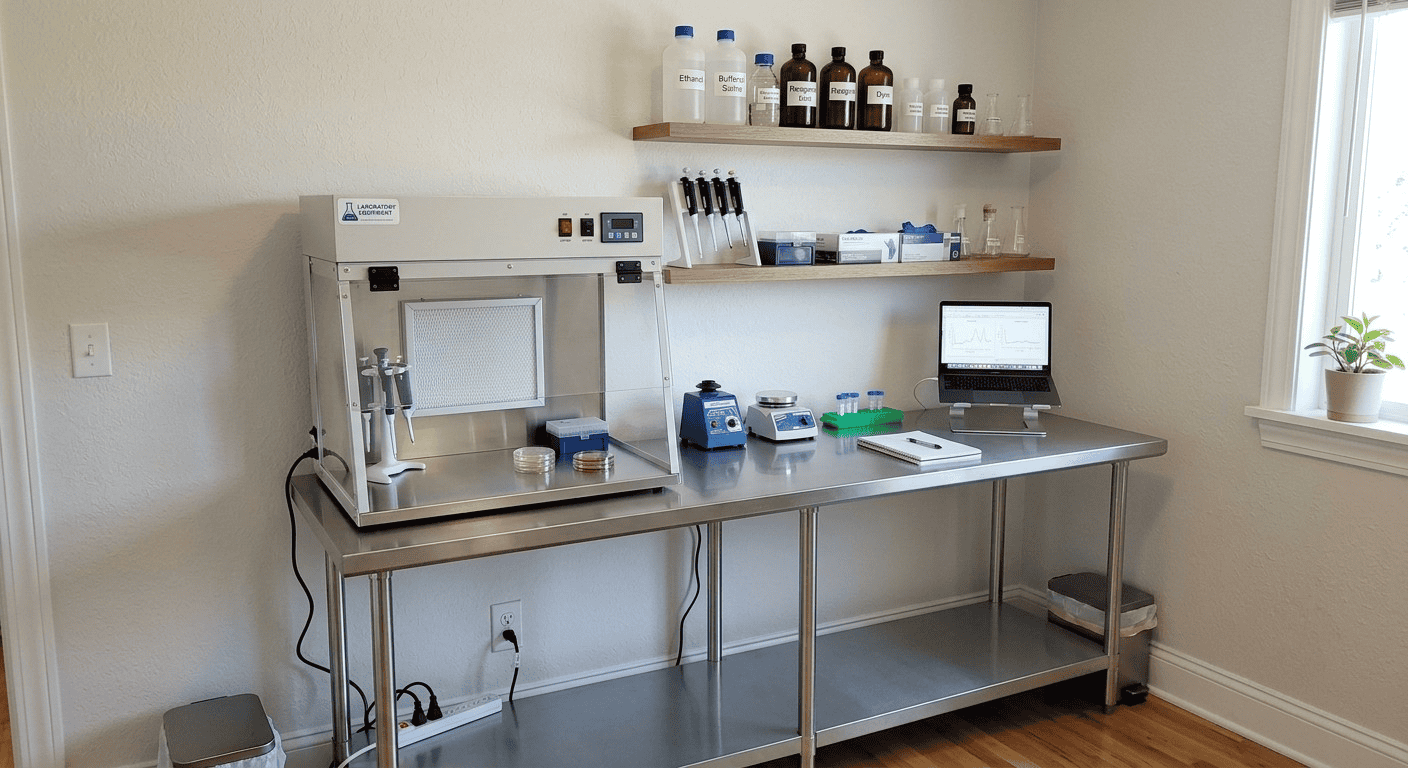
How to Build a Safe, Compliant Home Biohacking Workspace
So, you’re ready to turn that spare room, basement corner, or garage nook into a place where curiosity meets real science.
You’ve seen what community labs and passionate DIY biologists can do, glowing bacteria, homebrew enzyme assays, maybe even some light genetic engineering. But you also know that a home biohacking workspace isn’t a toy-filled man cave.
It’s a space that demands respect, safety, and a solid grasp of the rules. The good news? Building one that’s both safe and compliant doesn’t mean turning your house into a cold, white fortress. It means making thoughtful choices from day one.
I’m going to walk you through every step, like we’re sitting across from each other with a cup of coffee. We’ll cover what makes a safe home lab setup tick, how to stay on the right side of local regulations, and how a compliant DIY bio lab can become the most creative room in your home, without keeping you up at night. By the end, you’ll have a clear blueprint, not a pile of jargon.
Let’s build something smart together.
What Exactly Is a Home Biohacking Workspace?
Before we start moving furniture, let’s define our space. A home biohacking workspace is a designated area where you do hands-on biology outside a traditional institutional lab. Think of it as the biology equivalent of a home machine shop or a serious maker’s electronics bench.
It might host experiments ranging from extracting DNA from strawberries with a kid to running a PCR machine for genetic analysis. The unifying thread is that you’re working with living systems or biological materials, so the space must be built to contain, control, and protect.
What sets a home biohacking workspace apart from a casual kitchen experiment? Consistency. You’re creating a permanent or semi-permanent zone with proper surfaces, dedicated equipment storage, waste handling, and clear protocols.
It’s not about the price tag, many great DIY setups repurpose secondhand gear, it’s about intentional design. Whether you’re isolating soil microbes, testing water quality, or dabbling in synthetic biology, labeling your corner as a lab means you commit to the mindset: safety first, then discovery.
Your workspace might be small. A sturdy folding table with a heat-resistant top in a well-ventilated room can absolutely count. But the moment you start culturing microorganisms, using flammable reagents, or generating aerosols, that table transforms. Now, it needs a defined boundary between “lab” and “living space.” We’ll get to the how.
Why Safety and Compliance Matter in a Safe Home Lab Setup
I know, “compliance” sounds like someone about to hand you a 50-page document. But here’s the friend-level truth: safety and compliance in a safe home lab setup aren’t barriers, they’re the reason you get to keep doing what you love without a knock on the door or a trip to the ER.
When you work with biological materials, you’re managing risk to yourself, your family, your community, and the environment. A compliant DIY bio lab doesn’t just mean following the law; it means being a responsible citizen-scientist.
In the U.S., for example, even home labs can fall under guidelines from the CDC’s Biosafety in Microbiological and Biomedical Laboratories (BMBL), especially if you’re working with potentially pathogenic organisms. Many jurisdictions also have rules about waste disposal, autoclaving or chemically treating cultures before they go in the trash. Ignorance isn’t a shield.
Think of safety culture as a habit. It’s the quiet voice that makes you label that tube of E. coli K-12 correctly, even if it’s “just” a non-pathogenic strain. It’s the reason you don’t eat or drink anywhere near your bench. A safe home lab setup protects the integrity of your experiments, too, no cross-contamination from yesterday’s lunch crumbs.
Real-world motivation: community biohacking groups like DIYbio.org have spent years creating codes of ethics that emphasize transparency, safety, and peaceful purposes. Following their lead keeps you plugged into a supportive, global network rather than isolated and flying blind.
When you build compliance into your bones, you earn trust. That trust might one day lead to collaborations, shared equipment, or just the peace of mind to enjoy your hobby fully.
Step 1: Choosing the Right Space for Your Compliant DIY Bio Lab
Location shapes everything. Pick the wrong spot, and you’re fighting drafts, contamination, or unhappy housemates. Let’s find your lab’s sweet spot.
Separate from living areas. A spare bedroom, a dedicated shed, a section of a basement with a door, ideally, your compliant DIY bio lab has physical boundaries. A door that closes is golden because it controls airflow, contains spills, and keeps curious pets or toddlers out. If you’re in an apartment, a walk-in closet with ventilation modifications can work for low-risk activities like microscopy or plant tissue culture. The key: no food, no carpet, and an easy-to-clean floor.
Surfaces that can take a beating. In a safe home lab setup, your workbench needs to be non-porous and chemical-resistant. Butcher block sealed with epoxy, a used stainless steel table from a restaurant supply store, or even a sheet of HDPE over a sturdy desk are all excellent. Avoid bare wood and laminate that separates when wet. You’ll be wiping down with 70% ethanol or 10% bleach regularly, make sure the surface doesn’t degrade.
Ventilation and utilities. Evaluate airflow. If you plan to work with solvents like isopropanol at volumes beyond a quick swab, a window with an outward-facing fan and a simple fume hood (a clear plastic tote with an exhaust duct and an inline fan) can be a game-changer. Also check access to electricity (GFCI outlets near sinks), a sink with hot water if possible, and good lighting. A home biohacking workspace thrives on being a place you actually want to spend time in, so don’t underestimate comfort, a small stool and a standing desk option, maybe.
Containment zones. Mentally divide your space into “clean” and “dirty” areas. The clean zone is for notebooks, your phone (in a sealed bag if used as a timer), and reference materials. The dirty zone is the active lab bench where biologicals and chemicals live. This practice, second nature in professional labs, instantly cuts contamination risk. Mark it with colored tape if it helps.
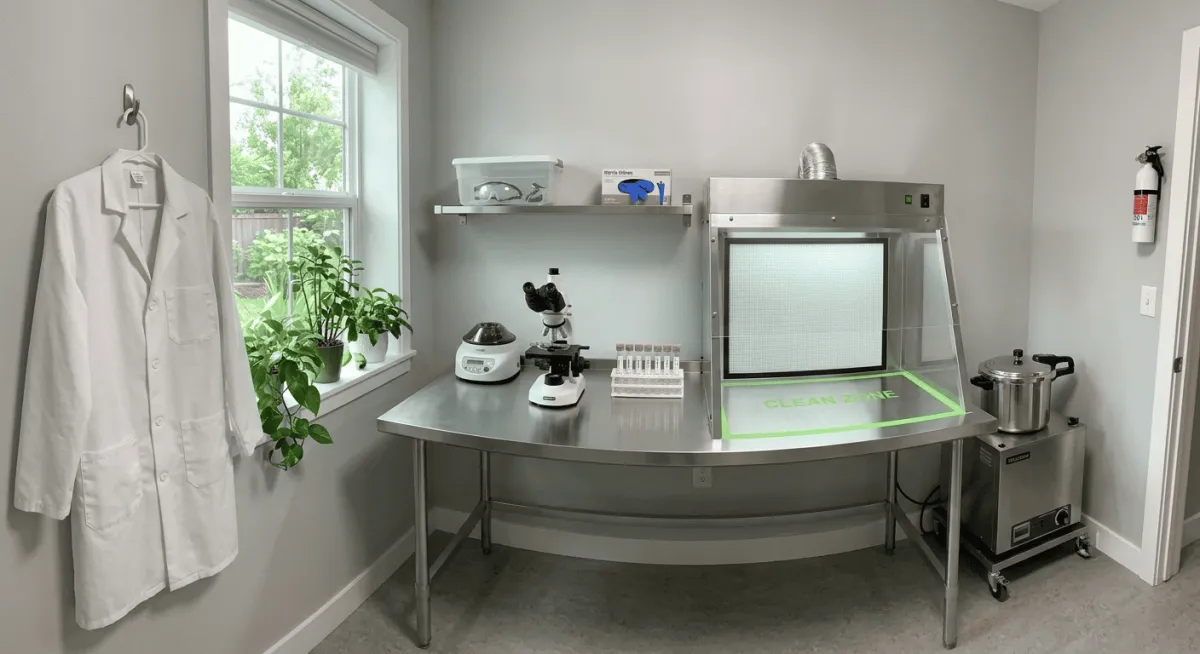
Step 2: Essential Safety Equipment for Your Home Biohacking Workspace
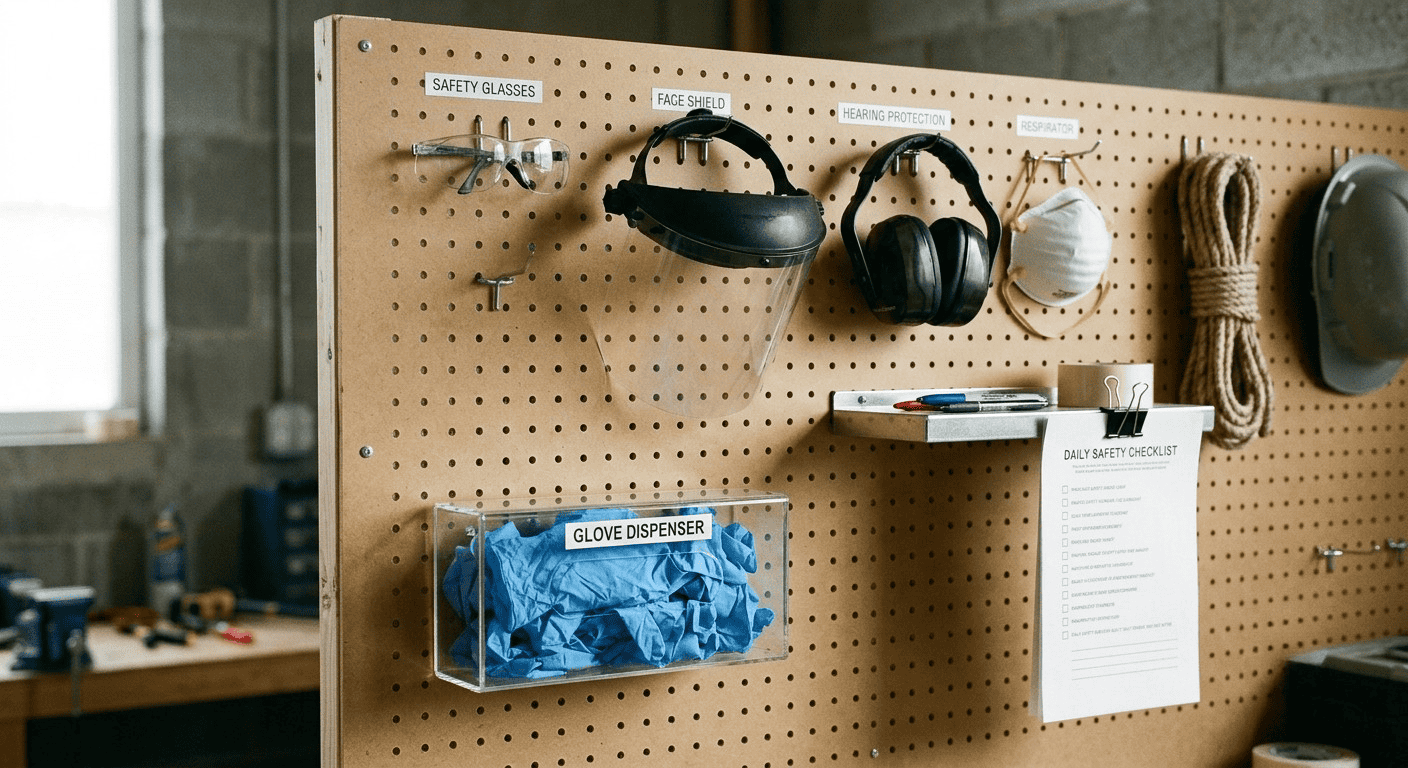
Gear doesn’t need to be expensive, but skipping it isn’t an option. Here’s what every home biohacking workspace needs to be a safe home lab setup.
Personal Protective Equipment (PPE)
Safety glasses or goggles: Always, even when you think it’s fine. Splashes happen.
Lab coat or dedicated work apron: Keep one that lives in the lab. Wash it separately.
Nitrile gloves: Buy a box and be strict about removing them before touching doorknobs or your phone.
Closed-toe shoes: Non-negotiable if a glass beaker could fall.
Primary Containment and Spill Control
A biological safety cabinet (BSC) is the gold standard, but a Class II BSC costs thousands. For most DIY work with low-risk organisms (Biosafety Level 1), a well-designed still-air box or a laminar flow hood built from a HEPA filter and a fan can handle open culturing. The goal: keep aerosols from your cultures out of the air you breathe and keep skin flora out of your plates. If you’re working with microbes, even “safe” ones like yeast and E. coli K-12, do any opening of liquid culture tubes or plates inside this contained area.
Disinfection and Waste Handling
A spray bottle of 70% ethanol and another of 10% fresh bleach solution. Label and date them.
A small autoclave (pressure cooker designated for lab use only) for sterilizing media and decontaminating liquid waste before disposal. For hard-to-autoclave trash, a heavy-duty biohazard bag and a plan for drop-off at a local hazardous waste facility keep you compliant.
A sharps container for needles, scalpels, or broken glass.
Fire Safety and Chemical Storage
A fire extinguisher rated for electrical and chemical fires (ABC type), mounted within reach.
Flammable storage cabinet or a cool, ventilated metal locker for solvents.
Secondary containment trays under all chemical bottles.
Internal link: [5 Low-Cost Tools Every Home Biohacking Workspace Needs]
Don’t let the list overwhelm you. Start with the basics, PPE, a good disinfection routine, and a dedicated lab coat, and build upward as your experiments grow. Your future self will thank you for documenting where you store everything. A compliant DIY bio lab feels chaotic without a home for every item.
Step 3: Legal and Ethical Compliance for a Compliant DIY Bio Lab
Now, the part that can feel fuzzy: rules, regulations, and doing the right thing. The great news for most home biohackers is that BSL-1 work (non-pathogenic strains, well-characterized microbes) is largely unregulated beyond general public health and waste laws. However, “unregulated” doesn’t mean “do whatever.”
Know your organisms. The moment you work with anything that could make a healthy human sick, you enter BSL-2 territory, which demands engineering controls, specific training, and often institutional oversight. For a compliant DIY bio lab, stick to risk group 1 organisms E. coli K-12, S. cerevisiae, B. subtilis, or plant and soil microbes that aren’t plant pathogens. If you’re not 100% sure of an isolate’s safety, treat it as hazardous. You can order safe strains from educational suppliers, and that paper trail is your friend.
Waste disposal regulations. Check with your local solid waste authority. In many places, properly autoclaved BSL-1 waste can go out with regular trash after being rendered non-infectious. However, liquid cultures must be chemically treated or heat-killed before pouring down the sink, and never pour antibiotics or heavy chemicals into the drain. A quick call to your city’s environmental health department can save you a big headache. Frame it as “I’m a hobbyist biologist ensuring safe disposal.” Often they’re surprisingly helpful.
Ethical frameworks. Even if the law doesn’t demand it, ethical guidelines fill the gap. The DIYbio.org Code of Ethics promotes transparency, peaceful purposes, and accountability. Consider joining a community lab or an online forum where you can share what you’re working on and get feedback. This not only improves your skills but also creates a record of responsible practice. If you eventually want to do citizen science collaborations, that record is gold.
Restricted experiments. Never attempt to culture or isolate known pathogens, enhance virulence, or synthesize controlled genetic material without proper licenses. The U.S. Federal Select Agent Program tightly regulates certain biological agents and toxins. For a home biohacking workspace, staying far away from those lists is simply smart. If an experiment gives you pause, ask a mentor. Trust your gut.
External link: CDC Biosafety in Microbiological and Biomedical Laboratories (BMBL) 6th Edition (https://www.cdc.gov/labs/BMBL.html)
External link: [DIYbio.org Code of Ethics](https://diybio.org/codes/)
Internal link: Understanding Biosafety Levels for Hobbyists: BSL-1 vs. BSL-2
Step 4: Organizing Workflows to Maintain a Safe Home Lab Setup
Tools and rules are great, but the way you move through your home biohacking workspace determines whether safety sticks. Set up workflows that make the right thing easy.
The “one-direction” protocol. Move from clean to dirty, never the reverse. Start by gathering all materials, tubes, media, tools, in the clean zone. Only then move them to the work area. After the experiment, do not bring anything back to the clean zone without decontamination. This simple rule stops you from setting your coffee mug down next to a used pipette tip.
Write a standard operating procedure (SOP). It doesn’t need to be formal, just a checklist. For example: “Yeast transformation: 1. Put on gloves and lab coat. 2. Wipe bench with 70% ethanol. 3. Pre-warm water bath. 4. Label tubes…” This turns safety from a series of decisions you have to make (and possibly forget) into muscle memory. In a compliant DIY bio lab, SOPs also make it easier for a friend or partner to understand what’s happening if there’s an emergency.
Sample and chemical inventory. A simple spreadsheet that tells you what’s in your freezer, what strain is on which slant, and where you store a particular reagent. Note arrival dates, hazards, and disposal dates. This not only makes experiments smoother but also shows due diligence if you ever need to demonstrate the scope of your work.
Power and equipment logs. Record when you run an autoclave cycle, check the temperature, or replace a HEPA filter. These logs are living proof that your safe home lab setup stays maintained. In the rare event of a failure, you’ll spot it before it causes an accident.
Internal link: Getting Started with CRISPR at Home: Ethics, Safety, and First Experiments
Step 5: Common Mistakes to Avoid in Your Home Biohacking Workspace
Learn from the stumbles of others so your path is smoother.
Mistake 1: Multitasking with non-lab activities. Your home biohacking workspace is not the place to charge your phone, snack, or wrap gifts. Cross-contamination can flow both ways. Keep a designated “safe” tray for your phone if you need it for protocols, but wipe it down when it leaves.
Mistake 2: Ignoring neighbors and local perception. A surprisingly common misstep is forgetting that curious neighbors might see glowing agar plates through a window and misinterpret them. Be discreet, keep window coverings, and have a simple, honest explanation if asked. “I do educational microbiology experiments, all safe,” is far better than mystery.
Mistake 3: Scaling up too fast. It’s exciting to buy that shiny thermocycler, but do you have a place to dispose of amplified DNA waste? Do you know how to decontaminate the work area after a PCR reaction to prevent future false positives? Grow your compliant DIY bio lab as your skills grow.
Mistake 4: Skimping on labeling. Permanent markers fade, especially with ethanol. Use cryo labels or a label maker with alcohol-resistant tape. A tube labeled “Sample A” from three months ago is just frustration waiting to happen.
Mistake 5: No emergency plan. Spill a liquid culture on the floor? Have a kit: paper towels, a plastic bag for waste, and spray bottle of bleach solution within arm’s reach. Practice in your head. If you ever do get a splash in the eye, know where the eyewash station is, a simple squeeze bottle of sterile saline bolted to the wall counts.
External link: OSHA Laboratory Safety Guidance for small labs (https://www.osha.gov/laboratories)
Internal link: How to Source Lab Equipment Secondhand Safely and Legally
Conclusion: Your Journey Starts Now
Building a home biohacking workspace is an act of empowerment. You’re creating a place where you can explore the living world on your own terms, right at home. But that power walks hand in hand with a commitment to safety and compliance.
When you design a safe home lab setup, you’re not just checking boxes, you’re crafting an environment where your curiosity can thrive without putting anyone at risk. A compliant DIY bio lab respects both the science and the community.
Let’s quickly pull together the core ideas we covered:
A home biohacking workspace is a dedicated, intentional area, not a kitchen counter after hours.
Safety means PPE, proper containment, disinfection protocols, and a firm grasp of the organisms you handle.
Compliance is about following local waste laws, sticking to BSL-1 organisms unless you have formal oversight, and adopting ethical frameworks like those from DIYbio.org.
Workflow matters: move clean to dirty, write SOPs, and keep an inventory.
Common mistakes, eating in the lab, growing too fast, forgetting labels, are easy to avoid with awareness.
Every professional lab started with someone who just wanted to know more. Your journey is no different. The discipline you build now will make every experiment cleaner, more repeatable, and genuinely fun. And if questions bubble up, about what strain to use, how to set up a simple biosafety cabinet, or whether your city has specific disposal rules, you don’t have to figure it all out alone.
Reach out. I’d love to hear what you’re building and help you troubleshoot the tricky parts. Let’s make citizen science something we can all be proud of.
Contact us at [[email protected]] for inquiries, personalized advice, or just to share what you’re creating. Your safe, compliant, and wildly inspiring home lab is closer than you think.