


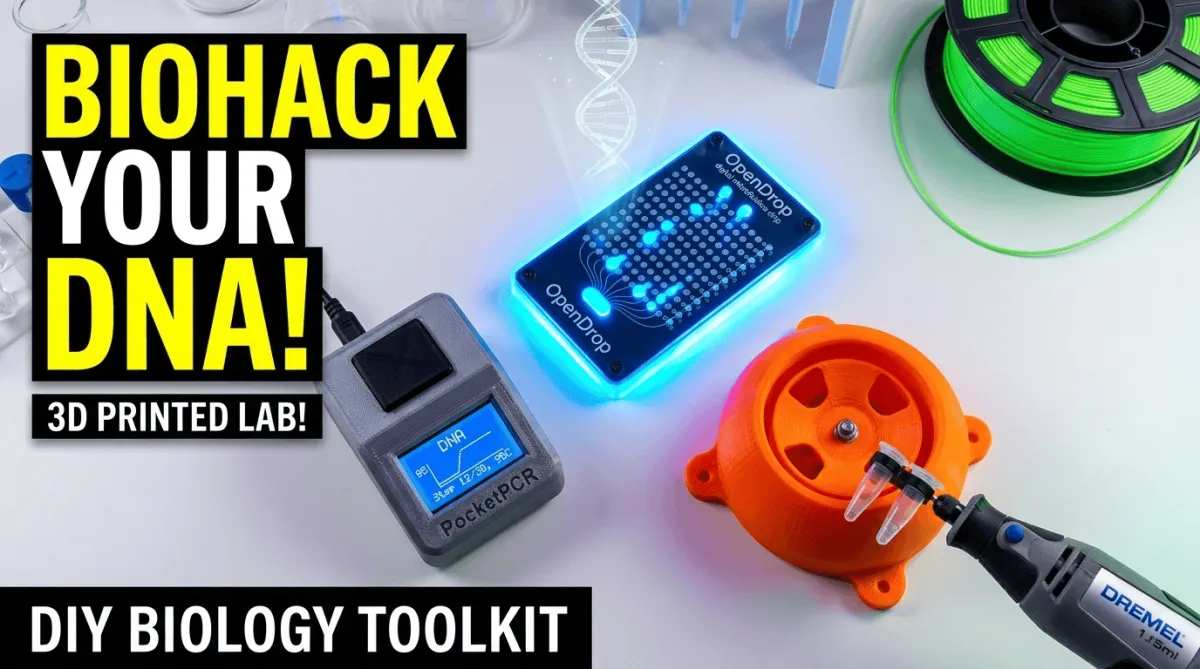
Best Open-Source Biohacking Devices You Can 3D Print
Ever dreamt of running PCR in your living room or building a programmable microfluidics lab for the price of a pizza? I used to think biohacking required a trust fund and a secret underground bunker.
Then I discovered that the most exciting open-source biohacking devices can be born right on your desktop, layer by layer. With a modest 3D printer and a splash of curiosity, you can print an entire DIY lab without selling a kidney.
Today I’m walking you through the hardware that turns your kitchen table into a citizen science powerhouse, no gatekeepers, just extruded plastic and open designs. Grab a coffee (or a flask of LB broth), and let’s dive into the world of 3D printed biohacking tools and DIY lab hardware that actually works.
Why 3D Printing is Revolutionizing DIY Biohacking
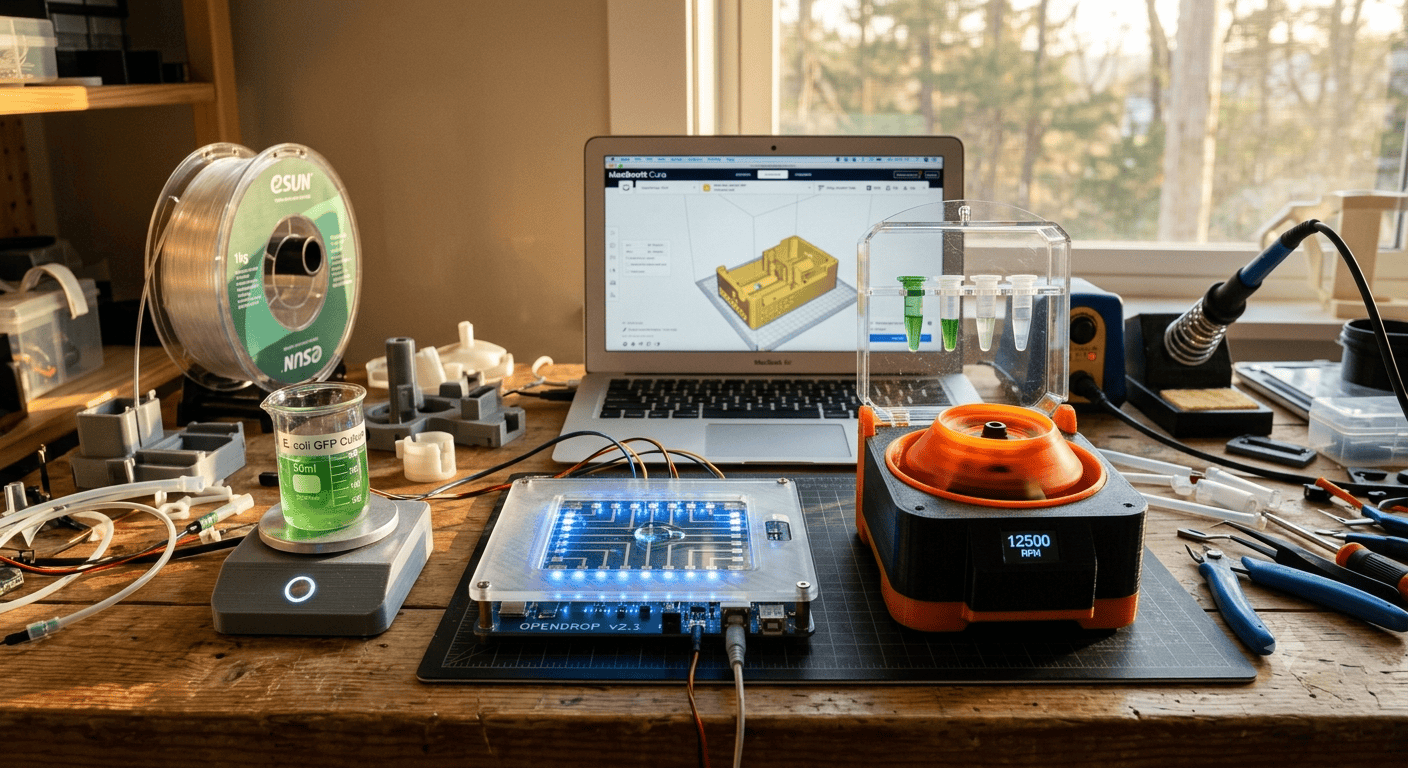
For decades, biological research stayed locked inside institutions because the gear was astronomically expensive. A commercial microcentrifuge could set you back $500; a thermocycler, thousands. 3D printing flipped that script.
Now you can fabricate rugged, precise 3D printed biohacking tools at a fraction of the cost, iterating designs overnight and sharing improvements globally. The magic isn’t just affordability, it’s the speed of evolution.
When a maker in Berlin prints a better pipette adapter, you can download the STL before your next experiment. This rapid, collaborative development is the heartbeat of open science.
DIY lab hardware built this way isn’t a compromise; it’s often more customizable and repairable than proprietary equivalents. Plus, learning to assemble your own gear teaches you more about the science than unboxing a black-box machine ever will. The open-source philosophy gives you a seat at the bench, and the printer puts the tools in your hands.
The Must-Have Open-Source Biohacking Devices You Can Print Right Now
Ready to warm up that heated bed? Here are the genuine, community-tested open-source biohacking devices that will jumpstart your citizen lab. I’ve personally built most of these on an entry-level printer, so if I can do it while wrestling a cat for filament, you can too.
OpenDrop – Digital Microfluidics on a Desktop
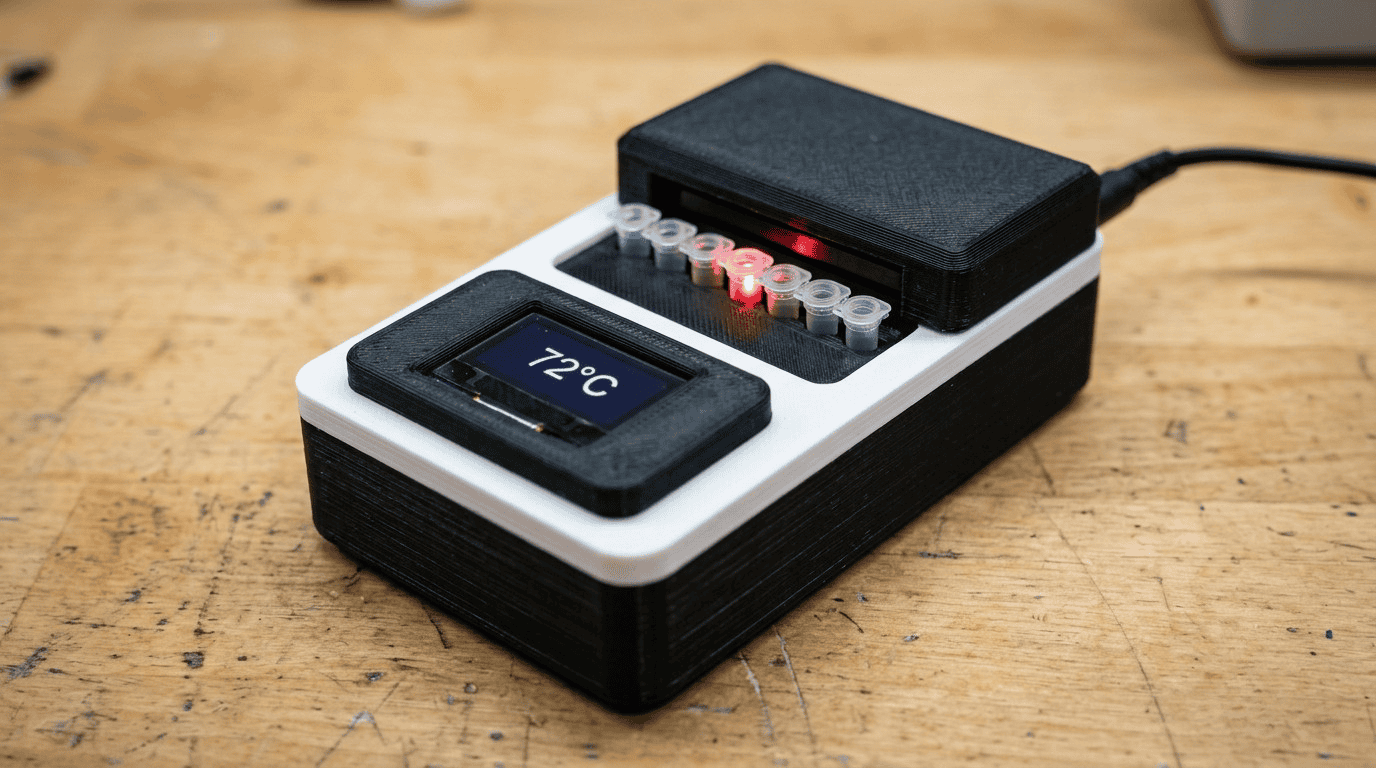
The OpenDrop (from GaudiLabs) is a stunner, a compact digital microfluidics platform that moves droplets using electrowetting. Nearly the entire enclosure and the electrode cartridge holder are 3D printed. It’s an open-source biohacking device that lets you perform automated protocols with tiny volumes, perfect for enzyme assays or nutrient sensing.
The clear acrylic-like prints reveal the glowing electronics inside, making it look like a prop from a sci-fi film that actually sequences DNA. This is DIY lab hardware with jaw-dropping potential. (External link to project: https://www.gaudi.ch/OpenDrop/)
PocketPCR – The Thermocycler That Fits in Your Palm
Polymerase chain reaction sounds like it demands a hulking lab machine. Then the PocketPCR arrives: a minimalist, 3D-printed thermocycler that amplifies DNA using a Peltier element and an Arduino. The printable shell, button caps, and even the tube block adapter are openly shared.
It’s one of my favorite open-source biohacking devices because it bridges molecular biology and making so elegantly. With it, I’ve confirmed successful amplifications for genetic barcoding projects. Grab the files, a few electronics, and you’ve got a real thermal cycler for under a hundred bucks. (External link: https://pocketpcr.com/)
OpenPCR – The Classic DIY Molecular Workhorse
Before PocketPCR, there was OpenPCR, the project that proved 3D printed biohacking tools could democratize DNA analysis. Its wooden or acrylic enclosure can be entirely 3D printed now, housing a heated lid, aluminum block, and open-source firmware. It’s a bit larger but rock solid for teaching, testing, and tinkering.
Many community members have remixed the design to add WiFi logging or a touchscreen. If you’re starting a community lab, this is your dependable DIY lab hardware for consistent thermocycling runs. (External link: https://openpcr.org/)
DIY Microcentrifuge (The DremelFuge Approach)
Sometimes the simplest open-source biohacking devices are the most brilliant. The DremelFuge is a 3D-printed rotor that attaches to a rotary tool, spinning at 33,000 RPM to pellet cells. I’ve used a printed version to clarify small cultures in seconds.
There are also standalone printable centrifuges like the “OpenFuge” that pair a brushless motor with a 3D-printed chassis, making it stable and safe. These are essential DIY lab hardware items that save you from hand-cranking in the dark ages.
Magnetic Stirrer & Hotplate – Stirring Up Reactions
A heated magnetic stirrer is the kitchen mixer of biology. The housing, clamp, and even the stir bar retainer can be printed, built around a PC fan, strong magnets, and a simple heater. It’s a perfect weekend project that delivers
3D printed biohacking tools you’ll use daily for mixing media, dissolving agar, or keeping your enzymes happy. I printed mine with PETG for heat resistance, and it’s been stirring my yeast cultures for two years without a hiccup.
3D Printed Spectrometer – Shedding Light on Samples
Public Lab’s foldable spectrometer has a thriving 3D printed cousin. By printing a light-tight housing, a slit holder, and a grating mount, you can turn a cheap webcam into a functional spectrophotometer.
This open-source biohacking device lets you measure absorbance, identify pigments, or test water quality. It’s the kind of DIY lab hardware that starts simple and scales with your curiosity - add a cuvette holder, a smartphone mount, and you’re quantifying protein concentrations.
OpenPipette – The Tool You’ll Reach for Constantly
Pipettes are pricey. The OpenPipette project provides a printable, adjustable micropipette body that uses inexpensive disposable tips. While the plunger mechanism requires some precision parts, the body is fully open.
It turns a ubiquitous consumable into an affordable 3D printed biohacking tool. Pair it with 3D-printed tip boxes and a printed calibration rig, and you’ve conquered the liquid handling mountain.
IncuKit and DIY Incubators – Growing at the Right Temperature
Tiny, 3D-printed clip-on incubators can turn any container into a temperature-controlled chamber. Using a Peltier or a resistor heater, an Arduino, and a printed housing, you create a mini incubator for growing bacteria, hatching brine shrimp, or fermenting.
Some designs include a clear printed lid to observe growth. It’s DIY lab hardware that proves the best open-source biohacking devices adapt to your specific experiment, not the other way around.
Need filament recommendations for lab gear? Check out our [Best Filaments for Durable 3D Printed Lab Tools]
Building Your DIY Lab Hardware Ecosystem
Printing the gadgets is step one. Weaving them into a coherent workflow—that’s the art. I store my open-source biohacking devices on a simple wire shelf, each in a clearly labeled box with its own logbook. Because these tools are open, you can modify them to communicate with each other.
For example, I printed a cradle that aligns my spectrometer with the PocketPCR tube strip, so I can scan reactions right after amplification. A printed microcentrifuge rack slots perfectly into my incubator’s footprint. This kind of DIY lab hardware synergy emerges when you’re the manufacturer.
To keep prints reliable, use filaments that shrug off ethanol and bleach: PETG is my hero; PLA warps under heat but works for structural parts away from high temps. Print slow, sand sealing surfaces, and always post-process with a food-safe epoxy coating if you’re growing organisms that could escape into layer lines.
Treat your 3D printed biohacking tools as living projects—tweak, recalibrate, and upgrade them whenever the community releases a better version. That’s the rhythm of open science.
Not sure how to calibrate your gear? Read [How to Calibrate Your 3D Printed Lab Tools] for step-by-step guidance.
Safety and Best Practices When Using Open-Source Biohacking Devices
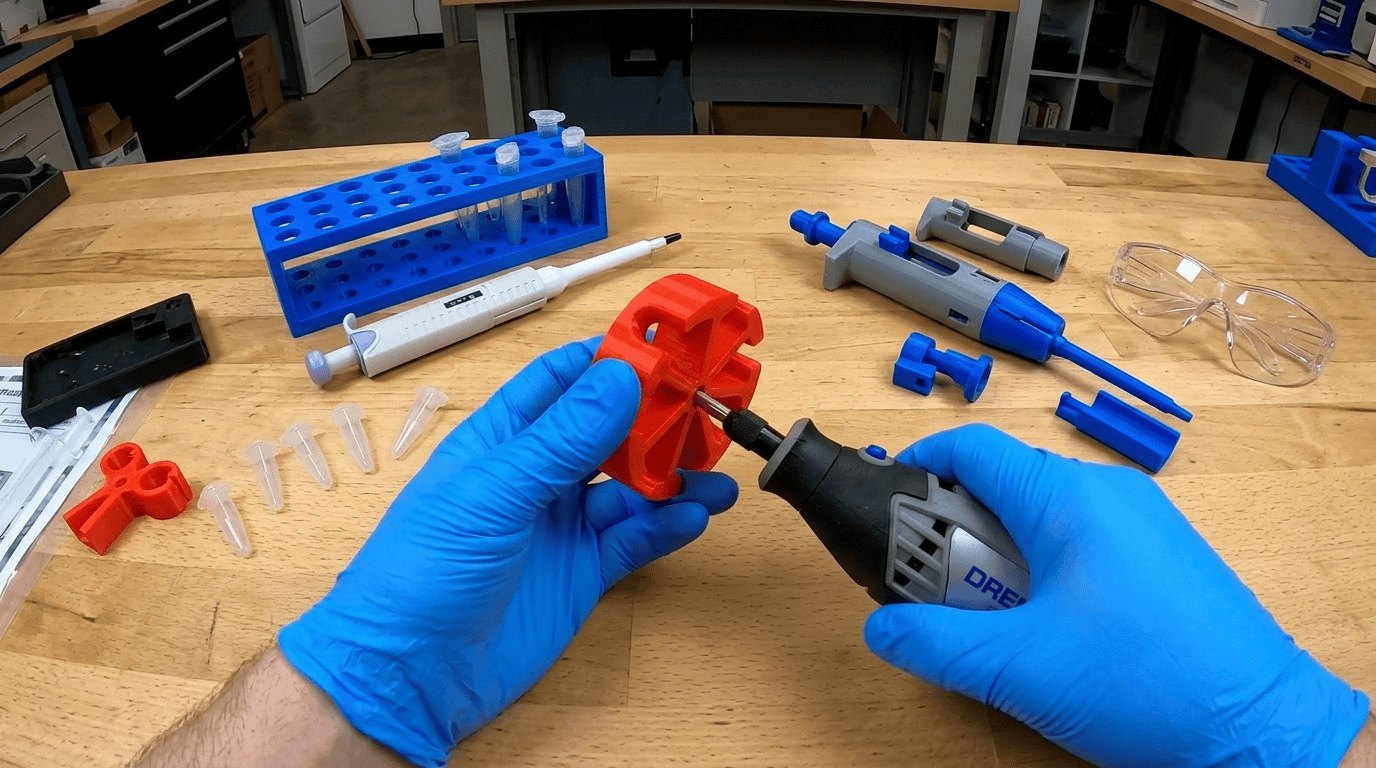
I’m a huge advocate for playing with biology at home, but let’s be blunt: you’re handling living things and sometimes heat or high RPM. Always eye the integrity of your 3D printed biohacking tools before a run.
Microcentrifuge rotors can shatter if printed with poor layer adhesion, wear safety glasses and run them inside a polycarbonate enclosure. For thermocyclers, ensure the heated lid’s temperature sensor is correctly mounted to prevent melted plastic fumes.
With DIY lab hardware, dedicate a clean work area, use appropriate PPE, and follow the ethical guidelines of the DIYbio community (check diybio.org). Dispose of biological waste properly, and never culture unknown environmental samples without containment.
The goal is empowered exploration, not a garage outbreak. Your open-source biohacking devices deserve the same respect as commercial equipment, perhaps more, because you built them with your own two hands.
If you’re just starting out, our guide [Getting Started with DIY Biology at Home] covers safe practices and essential setups.
[H2] Join the Global Conversation Around Open-Source Biohacking Devices
The true treasure isn’t the plastic, it’s the people. Platforms like the PrintLab.io forum, the GaudiLabs community, and the Open Bioeconomy Lab’s GitHub repositories are brimming with inventors who share your passion for open-source biohacking devices.
Post your remixes, ask questions, and you’ll soon have a global team of mentors. I’ve witnessed a 14-year-old in Indonesia remixing a centrifuge rotor for lower-cost motors, and a retired engineer in Canada perfecting a printable gel electrophoresis rig.
These DIY lab hardware networks democratize knowledge faster than any journal can. Your 3D printer isn’t just a manufacturing tool; it’s a passport into a worldwide movement that believes biology belongs to everybody. So dive in, share your STLs, and help evolve the next generation of 3D printed biohacking tools.
Key Takeaways: Your Open-Source Biohacking Toolkit Awaits
Let’s recap the beautiful reality: the most powerful open-source biohacking devices are only a print away. You can start with a DremelFuge rotor and a stirrer, then scale up to a full PCR and microfluidics setup without once opening a vendor’s proprietary manual.
Each 3D printed biohacking tool grows your skills in engineering, electronics, and biology simultaneously. The DIY lab hardware you build stays transparent, repairable, and endlessly improvable. You’re no longer just a consumer of science—you’re a co-creator. The community is here, the files are free, and the only thing missing is your filament.
Need help choosing your first print, troubleshooting a build, or designing custom lab gear? I’d love to hear from you. Reach out directly at [email protected] for questions, collaboration ideas, or just to share what you’re making. Let’s get those extruders humming and put biology back in the hands of the curious.