


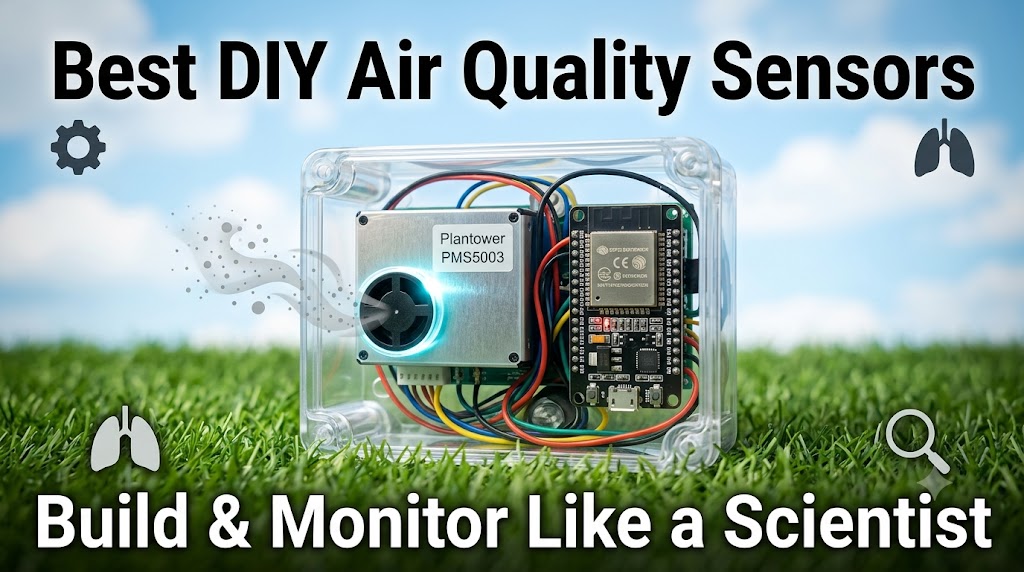
Best DIY Air Quality Sensors for Citizen Science Experiments
Hey friend, have you ever looked at the haze hanging over your city or smelled something funky drifting through your neighborhood and thought, “I wish I could measure exactly what’s in this air”?
You’re not alone. More and more people are diving into citizen science air monitoring, not just to satisfy their curiosity, but to protect their health, advocate for change, and truly understand the invisible world around them.
The beautiful part? You don’t need a PhD or a government grant to get started. With a handful of affordable components and a dash of maker spirit, you can build air sensor setups that rival professional equipment.
Today, I’m walking you through the best DIY air quality sensors that will turn your curiosity into real, shareable data. Whether you’re worried about wildfire smoke, traffic pollution, or the air in your own kitchen, there’s a project here that fits your needs, and your budget.
Before we jump into the sensor smorgasbord, let’s quickly ground ourselves. The whole idea of DIY air quality sensors is to put the tools of environmental monitoring directly into your hands.
You don’t have to wait for a government agency to tell you what you’re breathing. You become the scientist, the engineer, and the storyteller all at once. So grab a cup of coffee, and let’s talk hardware, hacking, and how you can join a global community of air-curious citizens.
Why Citizen Science Air Monitoring Matters More Than Ever
Here’s a reality check: according to the World Health Organization, 99% of the global population breathes air that exceeds safe pollution limits. That’s not a distant statistic, it’s your lungs, your kids’ playground, your evening jogging route.
Official monitoring stations are often sparse and might miss hyperlocal pollution hotspots, like a busy intersection or an industrial facility just upwind. This is where citizen science air monitoring becomes a game changer. By building your own device, you can collect data that fills in those gaps, holds polluters accountable, and helps your community make informed decisions.
I remember my first whiff of motivation (literally). A neighbor’s wood-burning stove would fill our cul-de-sac with acrid smoke every winter evening. The nearest EPA monitor was five miles away and showed nothing out of the ordinary. So I decided to build air sensor units and place them at different spots.
What I discovered was startling—particulate levels near my kid’s window spiked twentyfold every night. That data, shared with the local health department, led to a conversation, and eventually, a change. That’s the power you hold when you stop complaining and start measuring.
DIY air quality sensors empower you to see the unseen. You learn what PM2.5, VOCs, CO2, and ozone actually mean in your daily life. You start to correlate air quality with traffic patterns, weather, and even your own well-being.
And the best part? You’re contributing to a larger movement. Projects like the global Sensor.Community network aggregate readings from thousands of homemade monitors, creating a real-time map of air quality that anyone can access. You aren’t just building a gadget, you’re building a data-driven argument for cleaner air.
What Makes a Great DIY Air Quality Sensor for Your Needs?
Before we scroll through a shopping list, let’s get our heads around what actually matters when you build air sensor projects. Not all sensors are created equal, and the perfect sensor for a classroom science project might be too flaky for year-round outdoor deployment. Here’s what to consider:
Accuracy and calibration: A $5 sensor might tell you “air bad” or “air good,” but a quality module provides numeric readings that can be corrected against a known reference. Many DIY air quality sensors use laser particle counters or electrochemical cells that can be field-calibrated with a little know-how.
Target pollutants: Do you care about the fine particles from diesel exhaust (PM2.5), the ground-level ozone that irritates lungs, the volatile organic compounds off-gassing from new furniture, or the carbon dioxide buildup in a stuffy conference room? Different projects tackle different nasties.
Connectivity and logging: A sensor that just blinks an LED is cute, but you probably want data. Look for modules that easily pair with microcontrollers like the ESP32 or Arduino and can log to an SD card, push to the cloud, or display on a local screen.
Power and enclosure: If it’s going to live outside, it needs to sip power and survive rain, snow, and curious squirrels. Indoor setups are far more forgiving.
Cost and community: The sweetest sensors have an active community behind them. That means examples, troubleshooting threads, and pre-built dashboards. You won’t feel like you’re reinventing the wheel.
When I coach people on how to build air sensor setups, I always ask them to start with one metric they can obsess over. Too many beginners try to measure everything at once and end up drowning in conflicting numbers. Pick PM2.5, for example, build a rock-solid monitor for that, and then expand. This approach keeps you motivated and your data trustworthy.
The Best DIY Air Quality Sensors You Can Build Today
Alright, let’s get to the fun part, the actual devices that are winning hearts (and lungs) in the citizen science community. I’ve grouped them by sensor type and purpose, because your perfect match depends on whether you’re a coding newbie, a seasoned tinkerer, or an educator inspiring the next generation.
Plantower PMS5003 – The Gold Standard for Particulate Matter
If there’s a celebrity in the world of DIY air quality sensors, it’s the Plantower PMS5003 laser particle counter. This little rectangle spits out PM1.0, PM2.5, and PM10 concentrations with remarkable consistency. It’s the heart of countless citizen science air monitoring networks, including the aforementioned Sensor.Community.
The sensor works by shining a laser through a stream of air; particles scatter the light, and a photodetector translates the pattern into particle counts and mass concentrations. It’s the same principle used in professional monitors costing thousands.
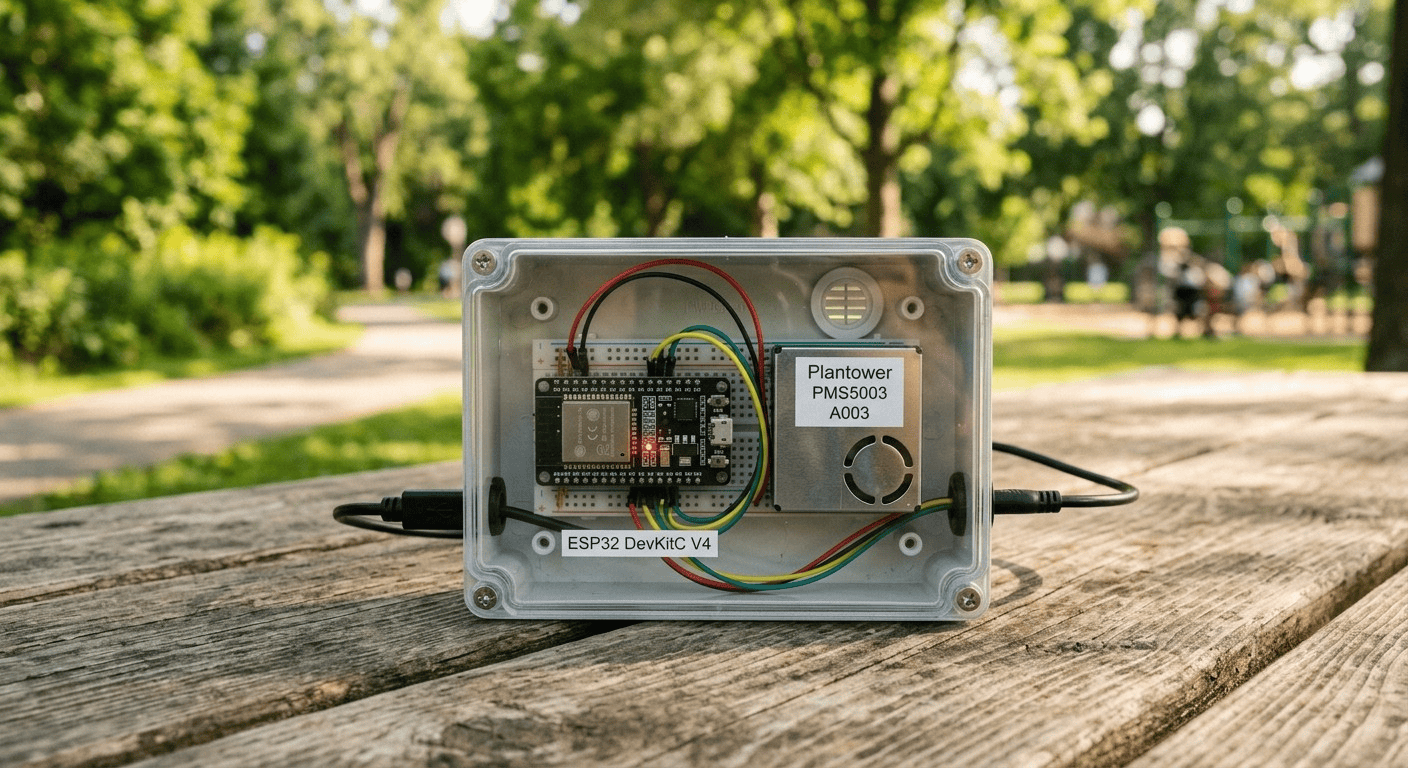
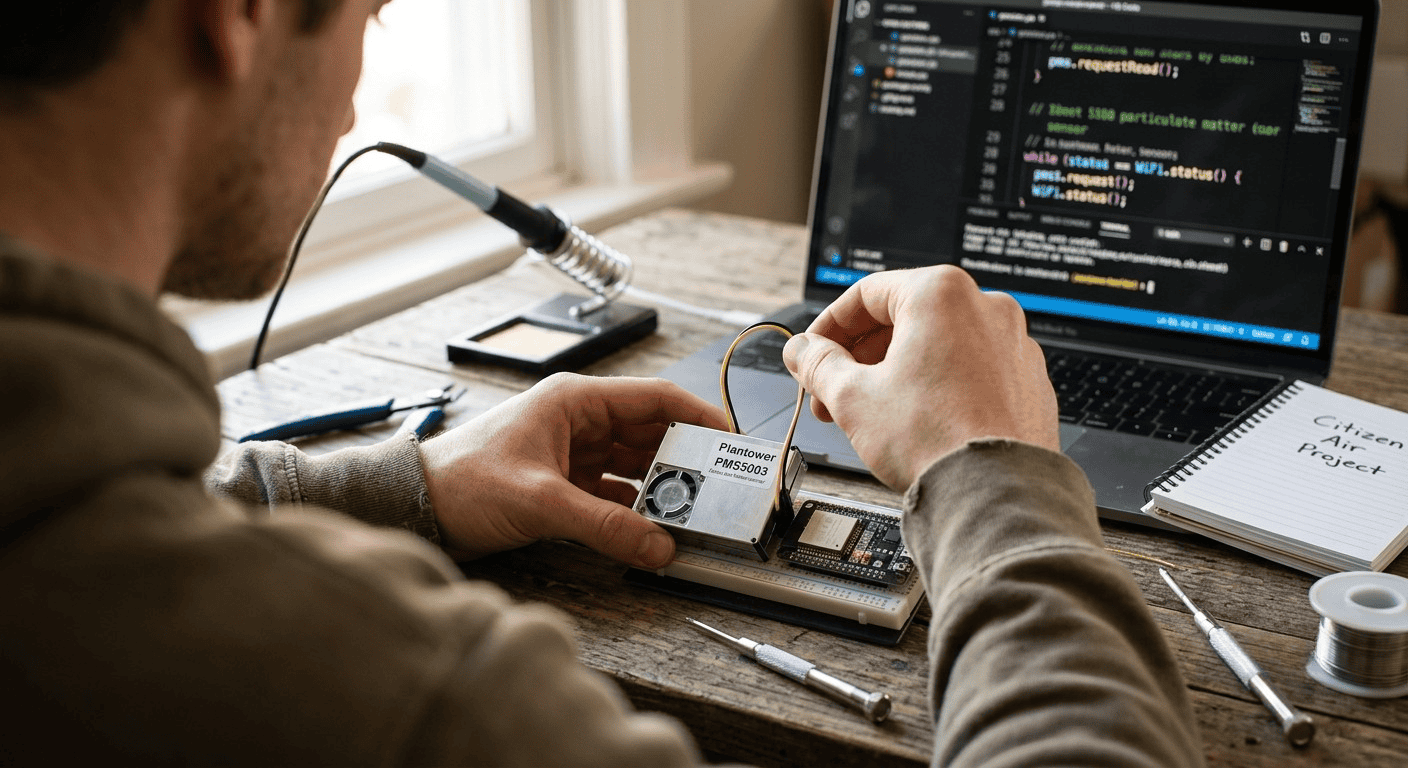
To build air sensor setups with the PMS5003, you pair it with a microcontroller like an ESP8266 or ESP32. The sensor talks over UART, and you can wire it up with just four jumper wires. Plenty of open-source firmware options exist, just flash, connect to Wi-Fi, and you’re streaming data to a local dashboard or a global map.
One tip: the sensor’s internal fan can get noisy after a few months of continuous use. I’ve found that popping it open and gently cleaning the optical chamber with compressed air restores accuracy.
It’s a minute’s work for a year of reliable data. For an outdoor setup, protect it from direct rain and add a small roof, but keep airflow open. With a price around $15-25, it’s a no-brainer.
If you’re just dipping your toes into citizen science, this sensor paired with a pre-soldered development board is the fastest path from curiosity to “whoa, I made that.” I’ve linked a full build guide in our earlier post on choosing your first microcontroller for environmental sensing, because getting the firmware right makes all the difference.
Sensirion SPS30 – When Accuracy Is Non-Negotiable
Sensirion is known for precision, and the SPS30 is their foray into the particulate sensor market. Unlike the Plantower, the SPS30 uses a proprietary contamination-resistance technology and offers self-cleaning routines that make it incredibly stable over time.
It’s become the darling of serious citizen science air monitoring projects that aim to publish data or present findings to local governments. The SPS30 measures PM1.0, PM2.5, PM4.0, and PM10, and it communicates over I2C or UART.
The cost is higher, around $40-50, but you’re getting a sensor that can be calibrated and trusted without constant babysitting. When I built a network of 10 monitors across my city, I used SPS30s for the “reference” nodes and PMS5003s for the higher-density fill-in units.
The correlation between the two was excellent once I applied a humidity correction. Yes, humidity can temporarily inflate particle readings; the SPS30’s built-in heater helps minimize that, while the PMS5003 needs an external correction algorithm. Both are excellent DIY air quality sensors; your choice comes down to budget and ambition.
To build air sensor hardware around the SPS30, you’ll want a microcontroller that handles I2C cleanly. I love the Adafruit Feather ecosystem because you get built-in LiPo charging, which is perfect for portable monitors.
You can grab an SPS30 breakout board, connect four wires, and have a high-quality monitor running in an afternoon. The data can be integrated into Home Assistant for smart home automation. Imagine your bathroom fan turning on automatically when PM2.5 spikes from a steamy shower or, more seriously, from outdoor smoke intrusion.
Alphasense OPC-N3 – The Professional-Grade Particle Counter
This one is for the overachievers. The Alphasense OPC-N3 is an optical particle counter that reports particle size distributions, not just mass concentration. It’s used in research-grade studies and comes with a heftier price tag (around $300).
I’ll be honest, integrating this sensor into a DIY build requires moderate skill. It speaks SPI, and you’ll need to handle its proprietary protocol. The reward is data that stands up in community meetings and can supplement regulatory monitors.
If you’re collaborating with a university or an environmental justice organization, the OPC-N3 lends your DIY air quality sensors credible, scientifically robust data. Plus, the satisfaction of coaxing a high-end sensor to work with a $10 microcontroller is just chef’s kiss.
A vital tip from my own tinkering: the OPC-N3 pulls more current during its laser and fan startup. Don’t skimp on your power supply, a cheap USB cable can cause brownouts and corrupt readings. Use a dedicated 5V regulated supply with at least 1A headroom. I detailed my power management lessons in our post on reliably powering outdoor air monitors.
Building Sensors for Gases: VOCs, CO2, and Ozone
Particles aren’t the whole story. The air you breathe is a chemical cocktail, and some of the most harmful ingredients are invisible gases.
For VOCs (volatile organic compounds): The Sensirion SGP40 or the older CCS811 are popular DIY air quality sensors for detecting off-gassing from paints, adhesives, and everyday household products. These metal-oxide sensors change resistance in the presence of VOCs.
They give you a relative “air quality index” rather than absolute parts-per-billion, but when paired with temperature and humidity compensation, they reveal fascinating patterns. I discovered that my 3D printer’s PLA filament, supposedly low-emission, still bumped VOC readings significantly in my office. Now I run a ventilation fan automatically based on the SGP40’s output.
For CO2: Nothing reveals a poorly ventilated space like a non-dispersive infrared (NDIR) CO2 sensor. The Senseair S8 or the Sensirion SCD30/SCD40 are go-to choices. High CO2 levels (above 1000 ppm) can make you feel drowsy and unfocused. I built air sensor modules for every occupied room in my house, and honestly, it changed my family’s habits, we open windows way more often now.
For classroom citizen science, a CO2 monitor is a perfect entry point because students can directly see how their breathing changes their environment in real time. The SCD30 also measures temperature and humidity, giving you three parameters in one tidy package.
For ozone and nitrogen dioxide: Electrochemical sensors from Alphasense or SPEC Sensors provide accurate, low-level detection. These are trickier to work with because they require stable biasing circuits and suffer from cross-sensitivity (NO2 sensors might also respond to ozone).
If you live in a city with high smog, however, measuring ground-level ozone with a SPEC sensor connected to an Arduino can give you hyperlocal data that often lags behind official reports. I built one last summer and could detect ozone spikes on hot, sunny afternoons that weren’t captured by the regional station 10 miles away. This is exactly the kind of empowerment you get from DIY air quality sensors.
A Step-by-Step Roadmap to Build Your First Air Sensor
Let’s translate all this sensor talk into a concrete project. I want you to have that tactile joy of soldering (or even just plugging wires) and seeing a number pop up on your phone. Here’s my recommended path for a sturdy PM2.5 monitor that you can station in your backyard or take on a walk.
Gather your core components:
ESP32 development board (plenty of flash memory and Wi-Fi).
A weather-resistant enclosure (a DIY junction box with drilled holes for airflow works brilliantly).
A USB power bank or a small solar panel with a charge controller.
Optional: a BME280 sensor for temperature, humidity, and pressure correction.
Plantower PMS5003 sensor with a G7 adapter board.
Assemble the electronics:
Wiring is straightforward: PMS5003 TX to ESP32 RX, RX to TX, 5V and GND. If adding BME280, connect via I2C (SDA, SCL). I always zip-tie cables and use silicone sealant around any enclosure entry points to keep moisture out. You can find a detailed schematic in our guide [wiring your first air quality monitor].
Flash the firmware:
Head to the Sensor.Community firmware page and download their pre-compiled binary for the ESP32 and PMS5003. Use the ESPHome Flasher tool, it’s literally a three-click process. The device will create a Wi-Fi hotspot; connect with your phone, enter your home Wi-Fi credentials, and you’re online.
Mount and maintain:
Place the sensor at least a couple of meters from direct exhaust sources, and give it a little roof. The data will appear on the global map within minutes. Once a month, check for spider webs inside the air path and gently vacuum if needed. That’s it. You’ve joined the citizen science air monitoring movement.
I still remember the first time my own sensor lit up on the map. It felt like planting a flag in the digital world, a tiny but real contribution to the shared understanding of our environment.

Making Your Data Count: From Numbers to Action
Collecting data is thrilling, but real change happens when you share and interpret it. Use your DIY air quality sensors not just as a personal dashboard but as a storytelling tool. Create time-lapse visualizations with free tools like Grafana or the Luftdaten platform.
Overlay your PM2.5 data with wind direction from a local weather API to trace pollution sources. Show your neighborhood what rush hour does to the air near the school. When the numbers hit the table in a community meeting, they’re hard to ignore.
Partner with local libraries or schools to run citizen science air monitoring workshops. I’ve held “build air sensor” afternoons where families assemble a dozen monitors in two hours. Those sensors then get distributed across town, creating a hyperlocal network that no government program could deploy for the same cost.
The data feeds into platforms like PurpleAir and OpenAQ, which researchers use to refine exposure models. Your living room experiment becomes part of a peer-reviewed study. Let that sink in.
Remember, correlation doesn’t equal causation, but persistent patterns do suggest action. If your monitor shows PM2.5 breaches every time the nearby asphalt plant fires up, you’ve just gathered evidence that can trigger an official inspection.
Stay ethical: never tamper with data, and always be transparent about your methods. Authenticity is the currency of citizen science.
Common Pitfalls and How to Dodge Them
Building gadgets is messy, and DIY air quality sensors have their quirks. Here are a few lessons I learned the hard way so you don’t have to.
The “dust-bunny” effect: Outdoor sensors can become insect nurseries. Use fine stainless-steel mesh over air intakes to deter critters without blocking flow.
Wi-Fi woes: An ESP32 might struggle to connect if your router is two brick walls away. Place your sensor near a window or use an ESP32 with an external antenna. I’ve been known to hang a monitor from an upstairs gutter strap, ugly but effective.
Cross-sensitivity in gas sensors: An ozone sensor that spikes when you spray a citrus cleaner isn’t lying about air quality per se, but it’s detecting the limonene reaction. Log all potential interfering events in a notebook, or train your family to tell you when they’re cooking something pungent.
Calibration drift: Particle counters can wander over months. Co-locate your sensor next to a trusted reference (maybe a friend’s recently calibrated unit) for a few days every season and apply a correction factor. Even without perfect calibration, the relative changes, the spikes and dips, tell a powerful story.
Our community is the best debugger. When you hit a wall, search the Sensor.Community forum or the Air Sensor Toolbox on the EPA website. The help you need is likely just a post away.
Resources and Communities to Fuel Your Journey
You’re not alone in this. The citizen science air monitoring ecosystem is booming, and these resources will accelerate your learning:
[Sensor.Community](https://sensor.community/): The global network that hosts firmware, maps, and build instructions. It’s my go-to starting point.
[EPA’s Air Sensor Toolbox](https://www.epa.gov/air-sensor-toolbox): A treasure trove of evaluation reports, standard operating procedures, and educational materials. When you want to understand the science behind your sensor’s readings, start here.
[PurpleAir](https://www2.purpleair.com/): Though primarily a commercial product, their community map is incredibly useful, and they support a Rest API that you can pull data from for comparison.
[OpenAQ](https://openaq.org/): An open data platform aggregating air quality measurements worldwide. Your DIY data can be contributed, joining a global fight for clean air.
Our own [troubleshooting guide for noisy data] where I share common data-cleaning scripts and sanity checks.
If you want to build air sensor networks that last, invest time in community building. Host a build party, present your findings at a city council open mic, or simply teach a neighbor to read the purple-yellow-red chart. The hardware is just a tool; the people you engage are the true sensors of change.
Summary: Key Takeaways from Our Air Quality Adventure
DIY air quality sensors put environmental monitoring within everyone’s reach—no lab coat required.
For particulate matter, the Plantower PMS5003 and Sensirion SPS30 offer an unbeatable balance of cost and accuracy.
For gases, NDIR CO2 sensors and metal-oxide VOC sensors reveal hidden indoor air issues; electrochemical cells tackle ozone and NO2 outdoors.
Successful citizen science air monitoring projects start with one pollutant, a solid build, and a commitment to sharing data openly.
Calibration, smart enclosure design, and community engagement turn a hobby into a credible instrument for change.
Whether you build air sensor kits for a classroom or deploy a network across your county, every data point is a voice demanding cleaner air.
The air you breathe tells a story. Why not be the author of your own chapter?
If you’ve been nodding along and itching to crack open a microcontroller, let today be the day you start. I’d love to hear about your project, offer some virtual high-fives, and help you troubleshoot anything that buzzes when it shouldn’t. For questions, personalized build advice, or just to share your success, contact us at [email protected]. Let’s breathe easier, together, one sensor at a time.